Ben Sullivan's Auto Page
Ben Sullivan's Auto Page
1995 Subaru Legacy Outback
Front Left projector fog lamp rebuild
03/17/03 - The lamp stopped working quite a while ago and I made no effort to repair it. The inner surfaces of the projector were coated with a white powdery substance, probably from the water that leaked into the unit (the person who last serviced the lamp did not screw the rear housing on properly) causing the bulb to explode and major corrosion throughout. Last week I removed both Left and Right lamps (the Right one simply needed a new bulb).
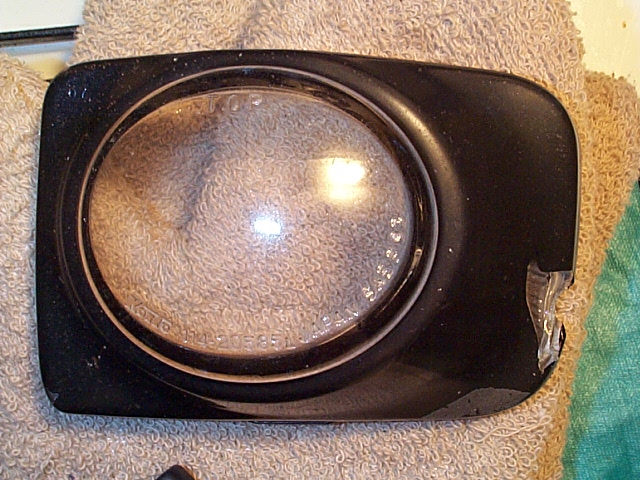
I attempted to remove the white powdery substance in a few ways, hot water, hot soapy water and CLR (See here) half strength and full strength; all of them did very little to remove the corrosion. I knew that the only solution was to open it up and clean it out. I attempted to pop the lens off w/ a screwdriver and only ended up cracking the lens (see pics below) - whoops! Next I tried baking it in an oven at 200° for about 30 minutes to no avail. After reading some more info on the NASIOC Legacy forums, I gave the baking thing another shot. This time I tried 240° for about 20 - 30 min. This worked great. I used a screwdriver to pry the two stubborn halves apart (it took some coaxing).
I then used varoius tools (brushes, screwdriver, knives, glass cleaner, etc.) to clean up the insides as best I could. Luckily the chrome peice and the glass cleaned up VERY nicely. The metal innards didn't clean up too nice, but are not functional to the reflection of light in the unit. My next step is to get some appropriate sealant (any ideas? email me! cpl_clegg@yahoo.com) and put the two halves back together, and touch up some of the paint where I chipped it.
Update: 03/20/03 - on Tuesday I bought some VersaChem Flowable Silicone 750 (part no. 75009) at the local Advance Auto Parts store which I used to form the new seal. I used the applicator to fill the plastic (I held it upright in a clamp) "trough" (where the glass lens sits) with the silicone. I placed the glass in and pressed down for a tight fit. Cleanup w/ a paper towel followed. Make sure, if you do this, that you keep the plane of the seal level - if it is tilted even slightly the silicone tends to run and pool at the lower end. Let it dry for 24 hours. After it dried, on Wednesday evening, I installed a Hella H3 bulb into the fixture and reinstalled them into my Subaru. Voila! I have fog lamps again. One disadvantage I noticed is that the damaged fog lamp (the left one) is less bright. This is because while the lamp sat broken mounted to my car for the last couple years with all the glass junk bouncing around inside it scraped off a lot of the polished chrome inside. Oh well.
 |
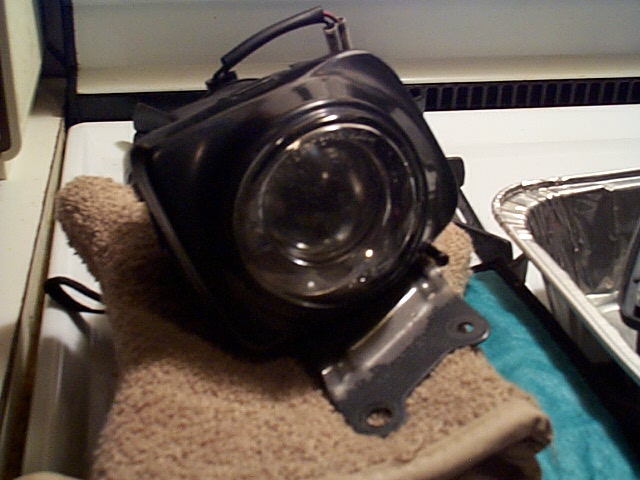
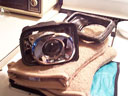
Right lamp - in good condition. |
102K  |
 |
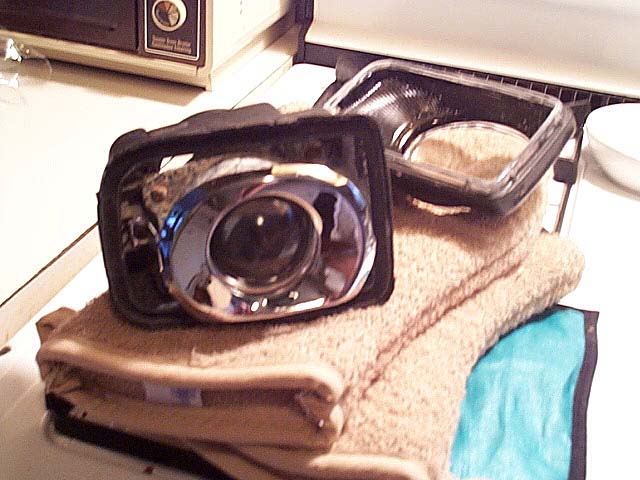
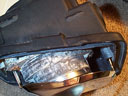
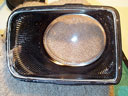
Here are the two halves just after I got them apart. You can see the corrosion is pretty bad. |
71K |
 |
Right lamp - in good condition. |
102K |
 |
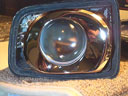
Now the two halves are clean and ready to go back together. |
61K |
 |
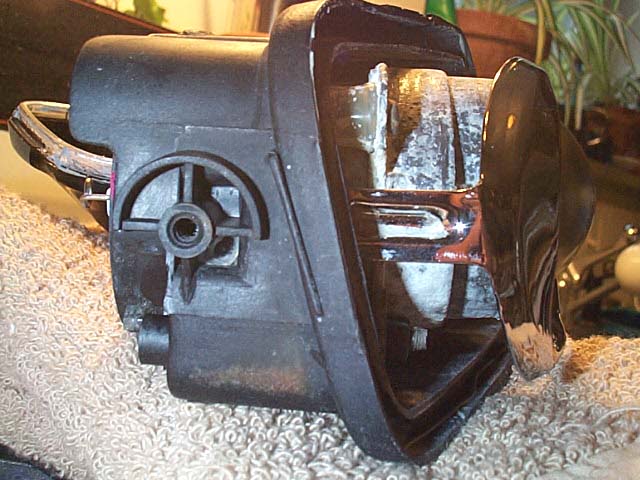
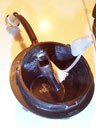
Bottom view - closeup. I scraped as much of the corrosion away from the accessable areas, but it's still pretty bad. |
142K |
 |
Left side - closeup. |
67K |
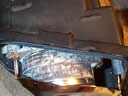 |
Bottom view closeup again. |
129K |
 |
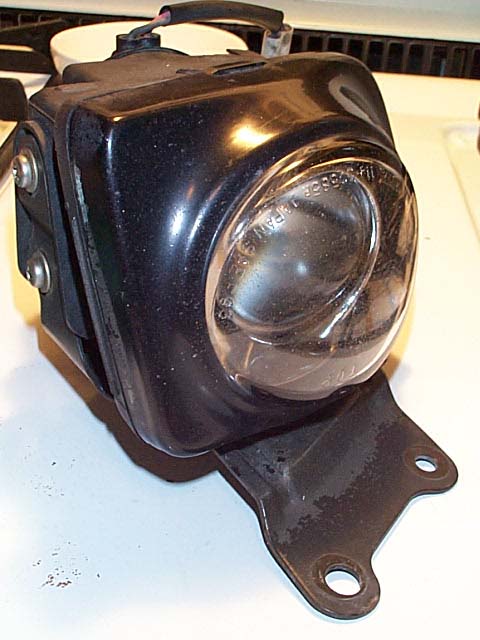
Front view - like new! |
68K |
 |
Back side of glass lens. |
173K |
 |
Front side of glass lens - not chipped side where I tried prying it open with a screwdriver when it was cold. |
152K |
 |
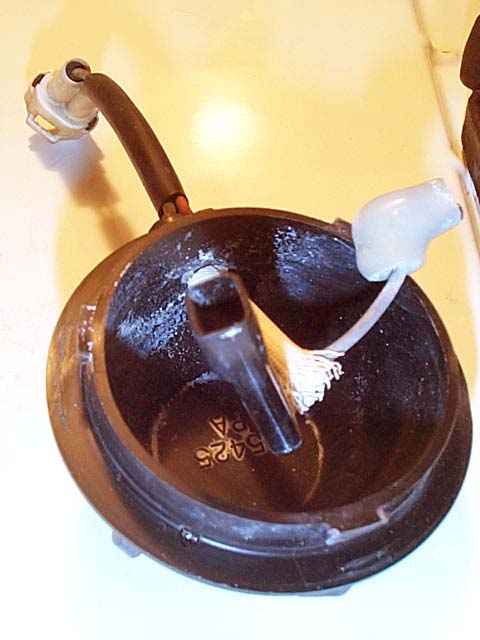
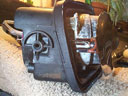
Rear cap. What caused the failure of this fog lamp is when the last person to service the lamp screwed the cover back on to the housing the three locking tabs (visible in this picture) did not all seat and lock. One was completely upset from the housing and allowed water to come into the housing. |
44K |
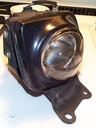 |
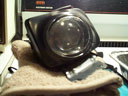
Right lamp - one more shot. |
53K |
HOME
contact me - cpl_clegg *~at~* yahoo.com