| Workshop >>
Paint Spray Booth
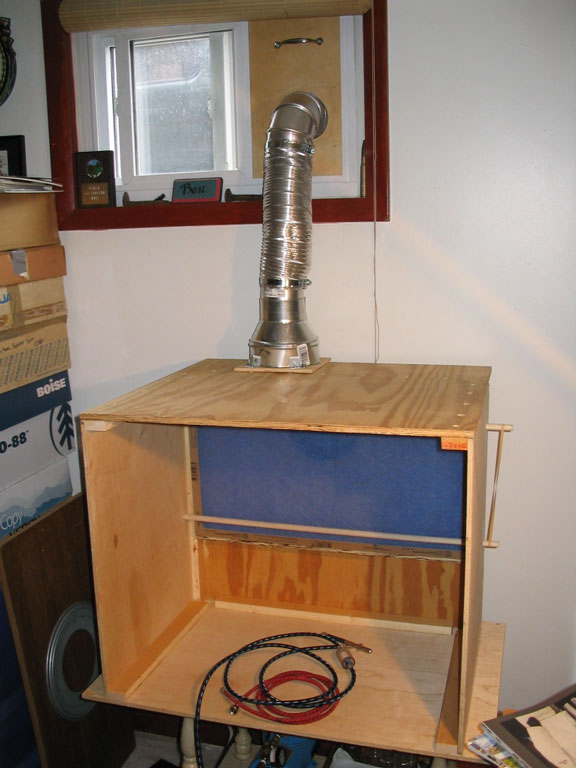
I've been planning on building this for several years now, and I'm finally getting around to doing it. I drew up the plans about a year ago and spent quite some time trying to locate a suitable Dayton squirrel cage blower fan for quite some time. I wanted to save money, so I searched eBay for a long time. Eventually I won an auction for the one I wanted; model 4C444 (350 CFM). Trying to mount the blower to the box proved a challenge, but with the help of some of the members of my train club I was able to get it going. Here's some photos from the construction process. The box is constructed from 3/8" & 1/2" plywood screwed to 3/4"x 1.5" cleats. The blower hangs from the top piece. |
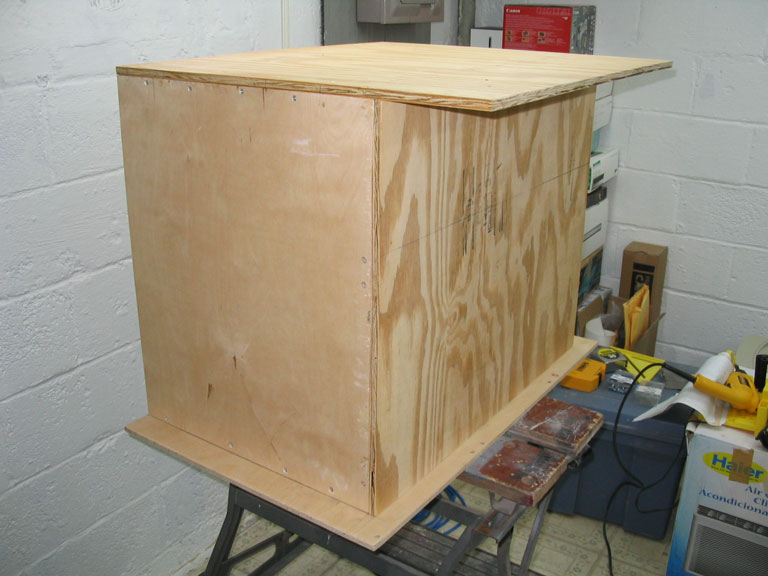 |
Box construction almost completed, here I'm test fitting the back. Nice snug fit. |
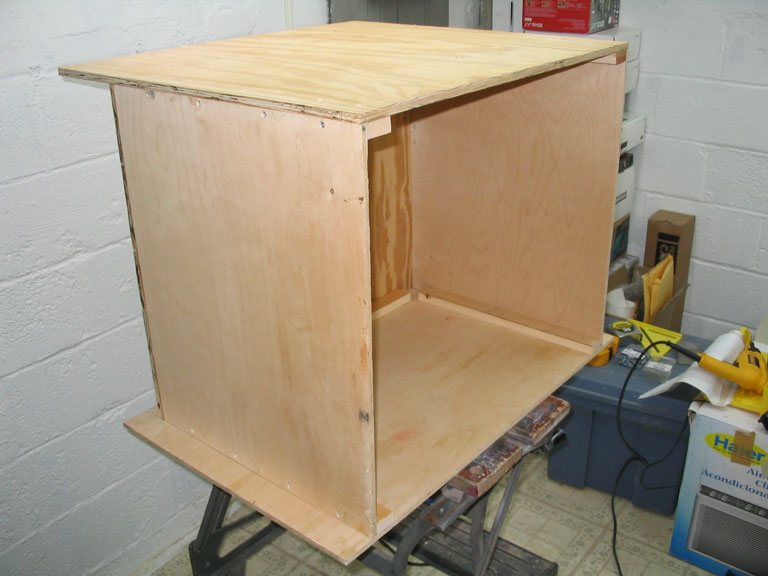 |
Front of the box. |
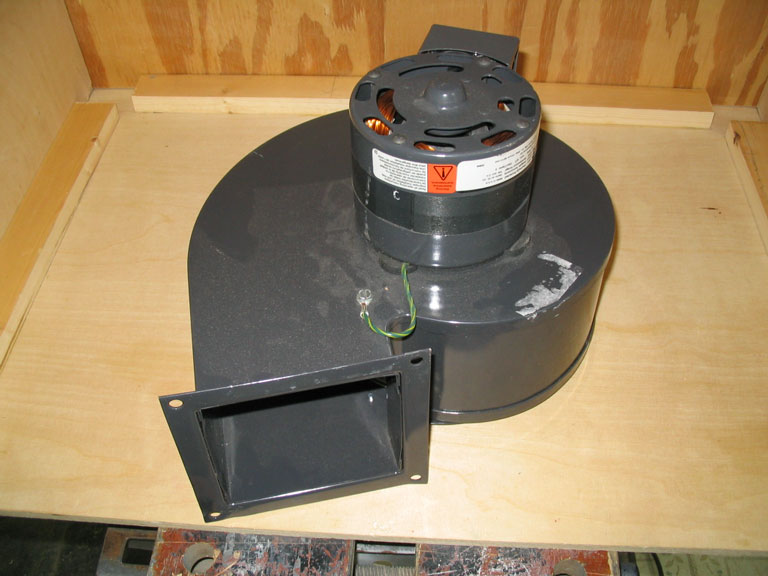 |
Here's the Dayton blower. |
 |
Test fitting the blower into the slot in the top. |
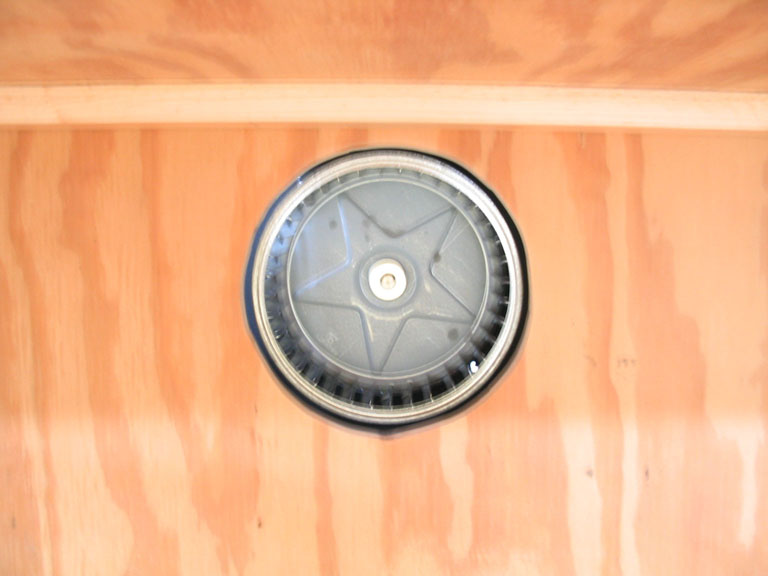 |
After carefully measuring, I cut the vent hole in the back of the box. Luckily it matched up perfectly. |
 |
Testing the wiring for the blower. The blower has 2 black wires in the wiring box on the blower motor. There is a green Ground screw which mounts to the blower housing and a small hole in the box on the blower motor to feed the ground wire through. I arbitrarily hooked up the wires to the two black wires and the fan worked fine. |
 |
I searched for a long time online trying to find out how to mount these Dayton blowers and could find very little info. Eventually I took the blower to my train club and a member helped me with this design. The blower is designed to "hang" from the exhaust flange. It's the most robustly designed piece of the unit. There are 4 1/4" holes for bolting the blower to the mount. I chose to hang the blower off the back of the box flush up against the back wall. This way, the intake is as close as possible to the spray booth area. |
 |
Wiring completed. Some have inquired as to how loud the blower is when turned on. The blower is actually very very quiet. It's about as loud as a kitchen stove hood fan. Most of the noise is the "woosh" of the air passing through the unit. I was pleasantly surprised. |
 |
Back view of the blower installed. |
 |
Side view. |
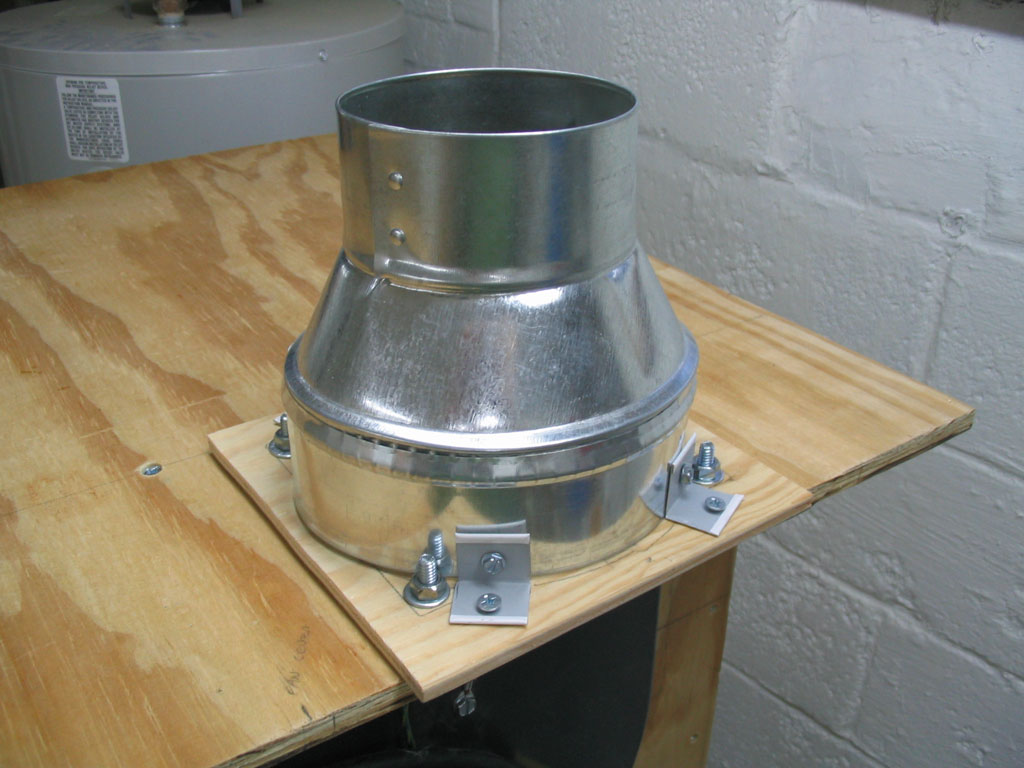 |
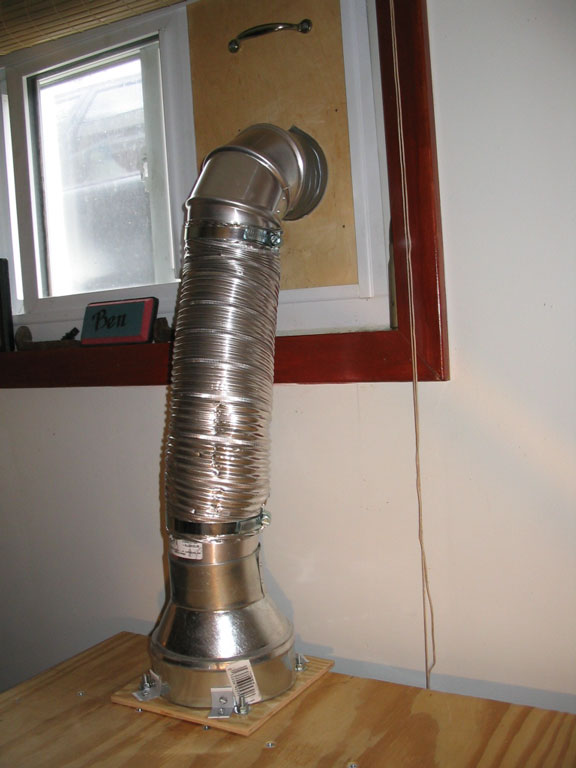
2/11/2005 I finished the exhaust adapter for the blower. From a 1/4" piece of plywood I cut out a hole slightly larger than the square exhaust of the blower. I put strips of vinyl insulation around the blower exhaust port. Drilled the holes for the 1/4" mounting bolts and threaded the plate on. Everything was tightened down. Then I used some scrap metal L brackets (for the drop ceiling) which I cut and drilled to mount the 6" to 4" reducer to the top plate. Everything was screwed together and now I'm going to seal it with some silicone caulk. |
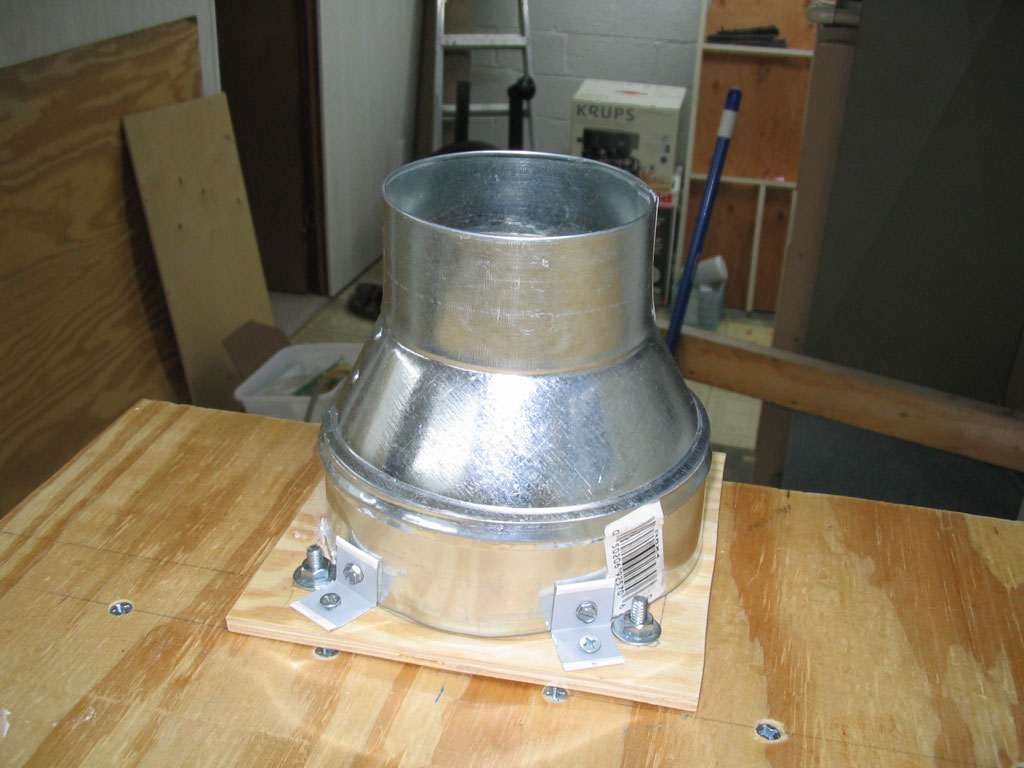 |
Other side. |
 |
This is the plate which will go in the window when I'm using the spray booth. This is the inside side. The 4" 90° piece will mount to the exhaust port here. It's constructed of 3/8" plywood. |
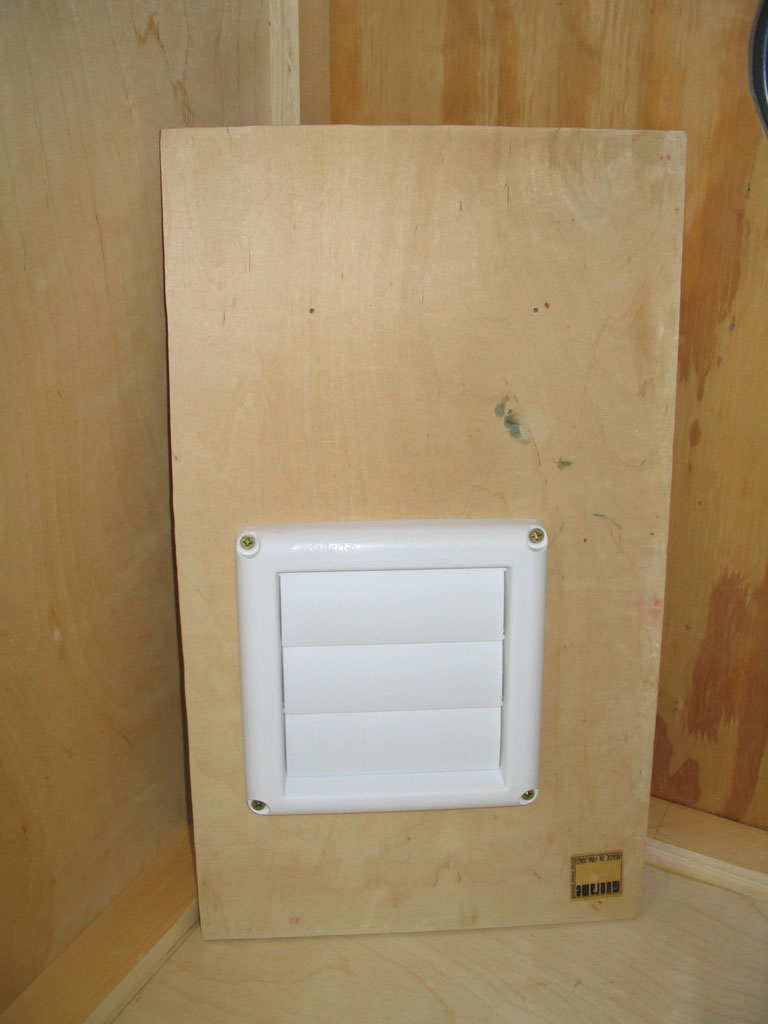 |
Outside side with louvered vent. |
 |
Here it is mounted in the window. |
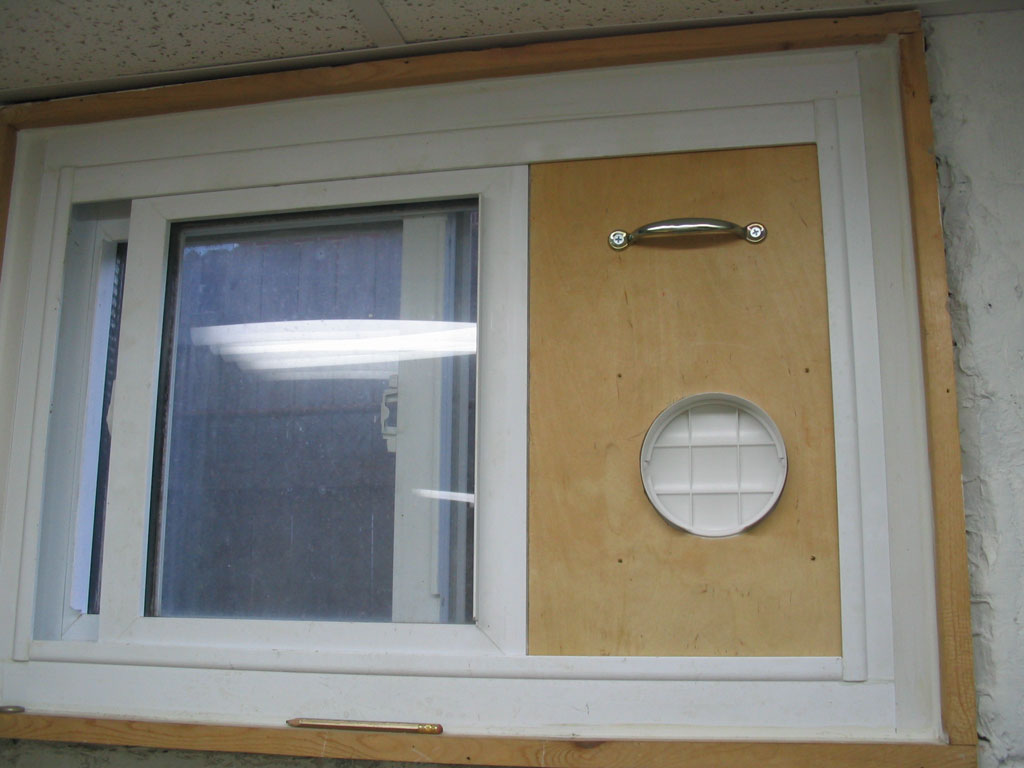 |
Wide shot. |
 |
4/3/2005 |
 |
Duct vent in place. |
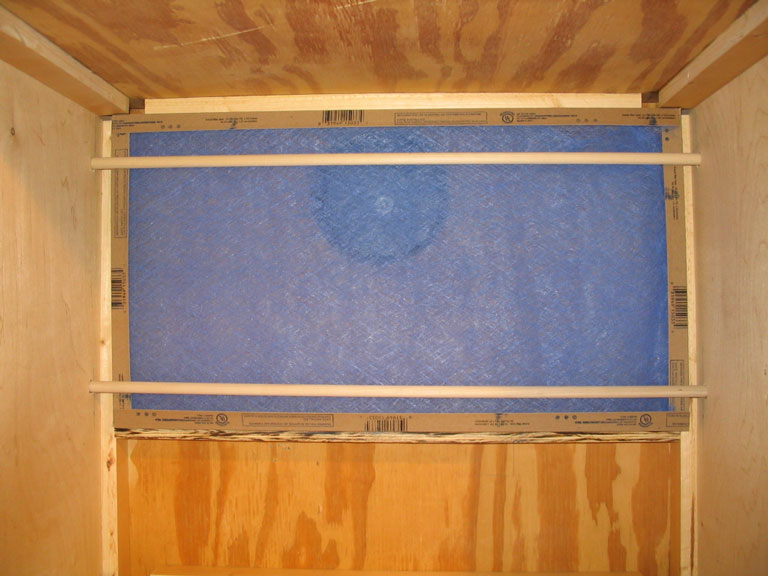 |
Interior. Filter is held in place with dowels which are threaded through the booth. |
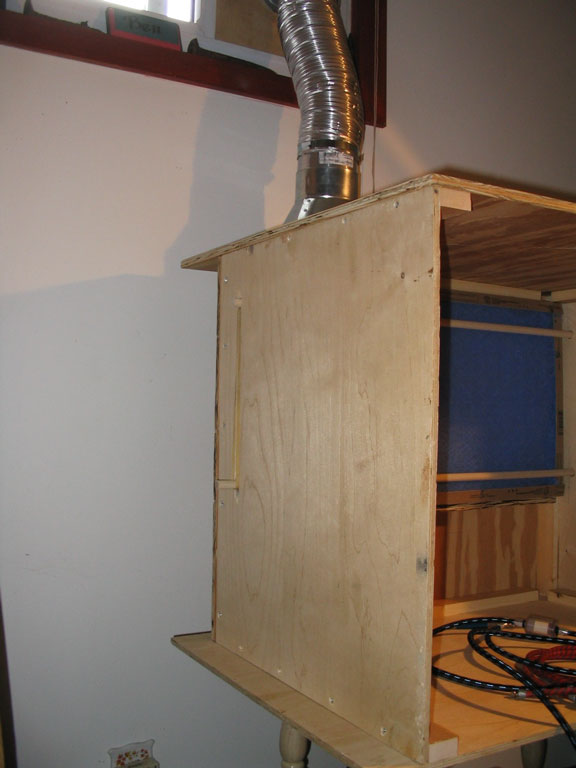 |
Side, showing dowels. A rubber band holds them from moving. |
Ben's Workshop - last updated 04/04/05