| Workshop >>
Brick Walkway in front yard
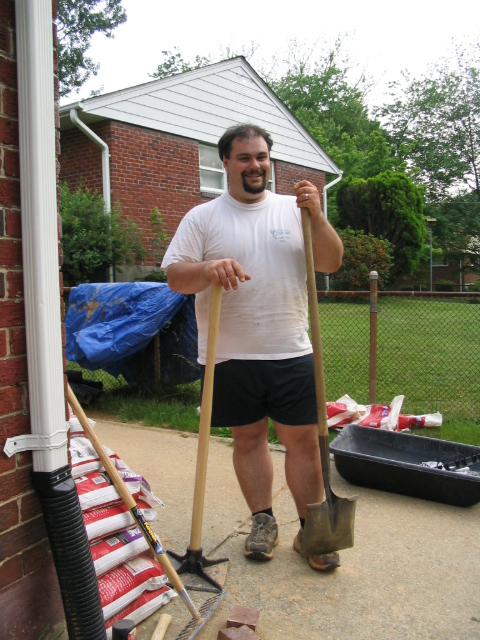
Since my first child is on the way, my wife asked to have me build a walkway from the front door to the driveway. Our front yard is largely a steep hill with a plateau at the top. The walk from the driveway has to rise up about 14" in curved steps and then proceed straight to the front doorstep. The process is basically dig, make forms for the steps, pour gravel, then concrete, then pour gravel, sand and install the bricks. (of course there are a lot of steps left out, but read on below for details). This process is turning out to be a lot more work than I expected. I mean, I knew it was going to be a big job, but the whole planning phase took a lot longer than I tought. I had a hard time calculating how much material I'd need and how to fit the steps into the space I have. Luckily I've had quite a bit of help from my friends Felix & Susie as well as my wife. |
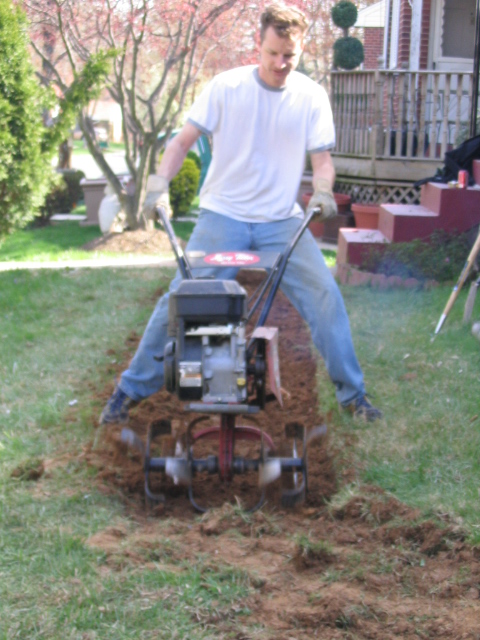 |
4/17/2004: Here is Felix behind the controls of the roto-tiller we rented from Rentals Unlimited in Rockville, MD. This thing was tough to use - it really pulls! We tilled the walkway area (about 30') twice to remove the sod and a lot of soil. |
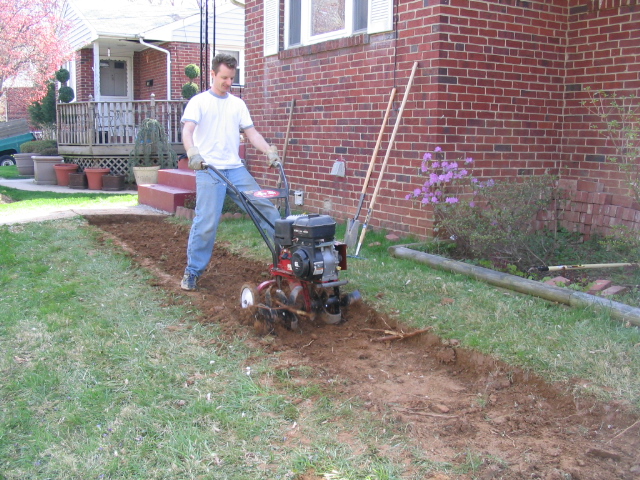 |
The roto-tiller. You can see how Felix is leaning back into it. |
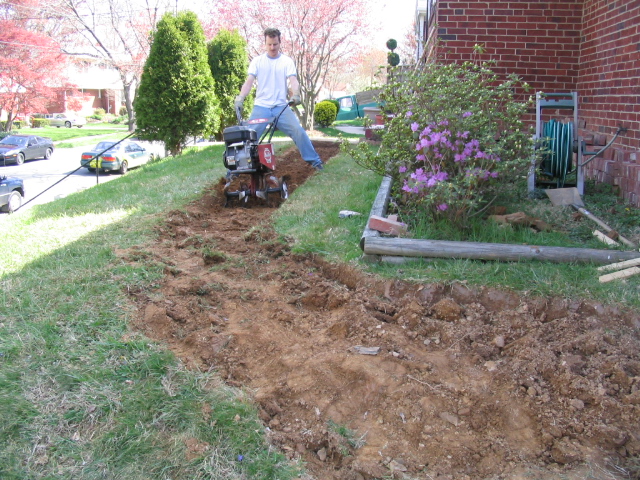 |
Here's a wider shot of the walkway area. Still have to remove a lot of dirt! |
 |
Here's the top of the driveway where all the gravel, sand, concrete, mortar and DIRT will find a temporary home. |
 |
4/19/2004: Here's a wide shot of the hill and driveway. You can see we've dug out the trench to the left of the driveway to facilitate the 3" drainage pipe for the downspout at the corner of the house. |
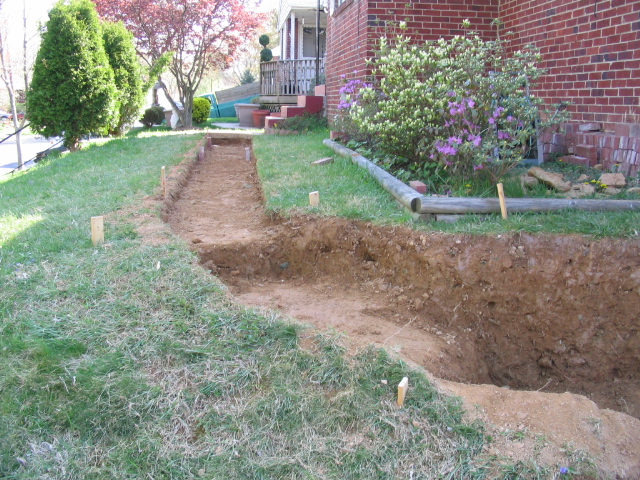 |
Another overall shot of the trench. |
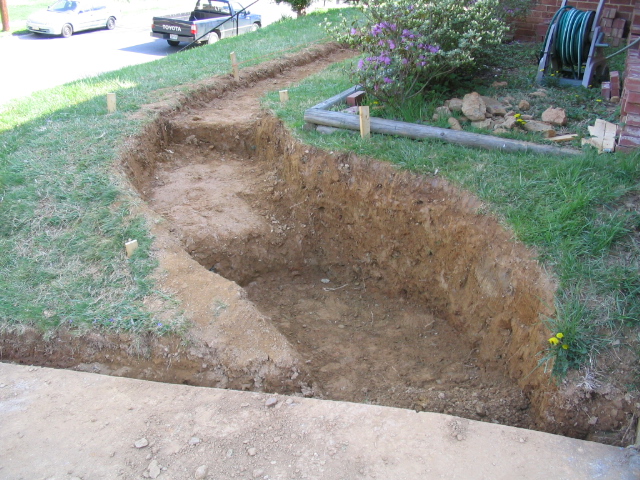 |
Here you get an idea of how big the whole really is. |
 |
Thanks again to Felix & Susie for helping out with the digging! They were GREAT! |
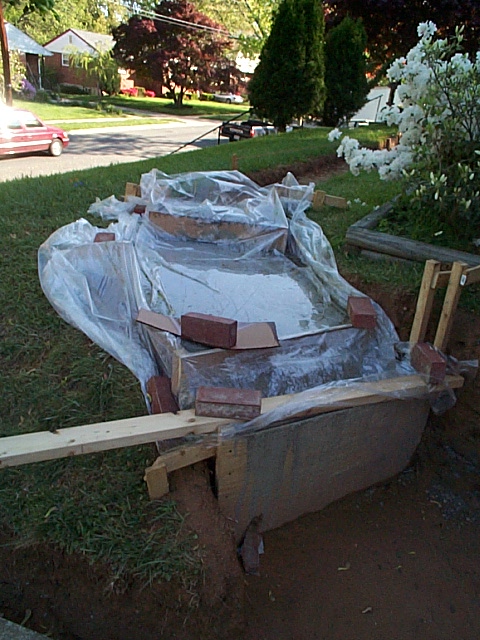 |
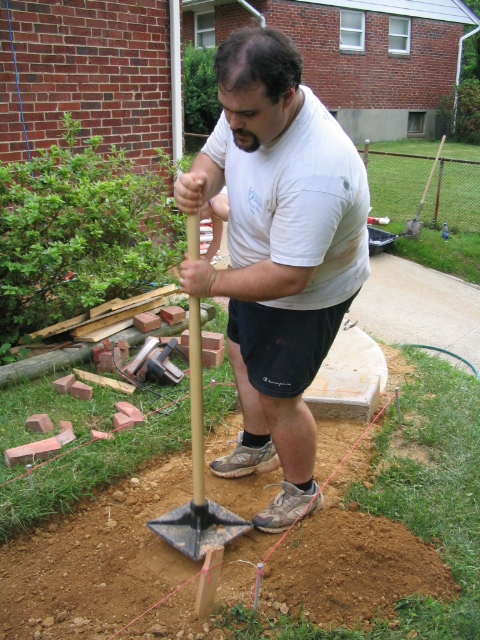
4/28/2004: Skipping way ahead, here we have the finished forms full of hardening concrete! It took me a couple days to get the forms right. Having the steps bend right with the proper amount of height gained was tricky. The concrete pouring process was tricky. I originally thought it would take a small amount of concrete. Silly me. I never was good at math. It ended taking 22 80 lb bags, and we were about 3-4 short! Again, thanks to Felix & Susie or else I would have finished some time around 1:00 AM if lucky! With the others there to help we were able to mix in a mixing trough and a wheelbarrow to get 2 going at the same time. |
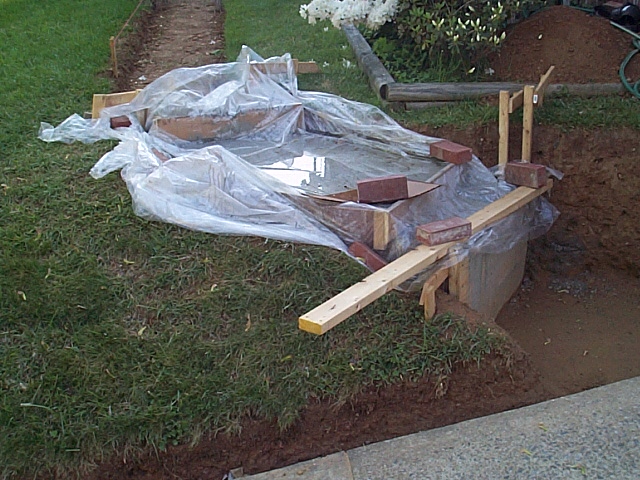 |
From another angle. The steps are covered in plastic to aid in the curing process - you don't want the stuff to dry out too fast. The process here for me was once the forms were complete I put 12" x 1/2" steel rebar into the ground sticking up about 9". Next I poured about 4" of gravel into the form, tamping it afterwards. Next came the rubble - any rocks that I'd dug out of the ground (and a few extra bricks) were laid on the gravel base. Then the concrete was mixed and poured, one 80 lb bag at a time. Once all the concrete was poured, I used a long board to screed the stuff roughly smooth. After an hour I came back with a metal float and edger and finished the surface. At this point it was still very wet. The next morning I pulled the plastic off to inspect it. Lo and behold the stuff was hardened! Duh! :) Well, I put the plastic back on and will wait a couple more days before completely removing it. |
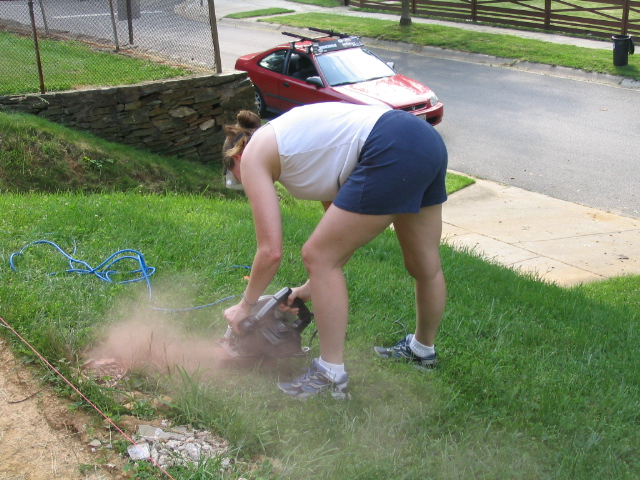 |
Susie & Felix came over again to help with the walkway. THANK YOU! :) Here's Susie cutting some brick w/ the circular saw. |
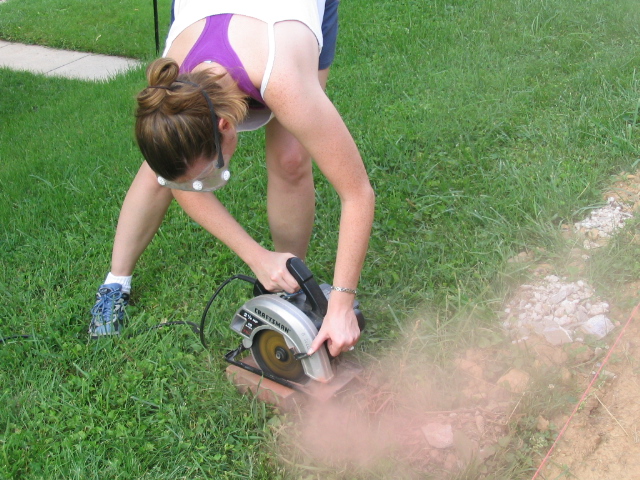 |
Susie again. The masonry cutting blade worked wonders cutting the brick. I tried using the brick chisel & hammer but I ended up with many crooked cuts. Guess I'm just not that good at it. The saw made quick work of all the necessary special cuts. |
 |
Here's Felix laying in the brick. Before this I'd already laid down the gravel base, weed barrier and sand. We leveled the sand, put the edging in and finished the sand. |
 |
Felix & Susie at work. |
 |
Susie hammering down some brick. |
 |
Felix handing off brick, Susie laying some. |
 |
Wide shot of the area. You can see where I laid down the new drain pipe along the driveway. The grass is already growing a little bit. |
 |
All the bricks in place, Susie starts to put sand into the cracks. She watered it and sanded it over and over until most of it had settled down. |
 |
Good work Susie! |
 |
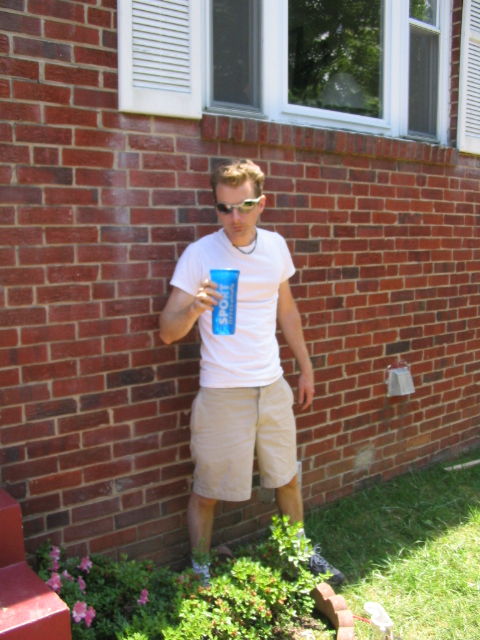
Me. |
 |
Tamping the walkway area above. We dug too deep so we had to fill in with dirt to bring the level back up. |
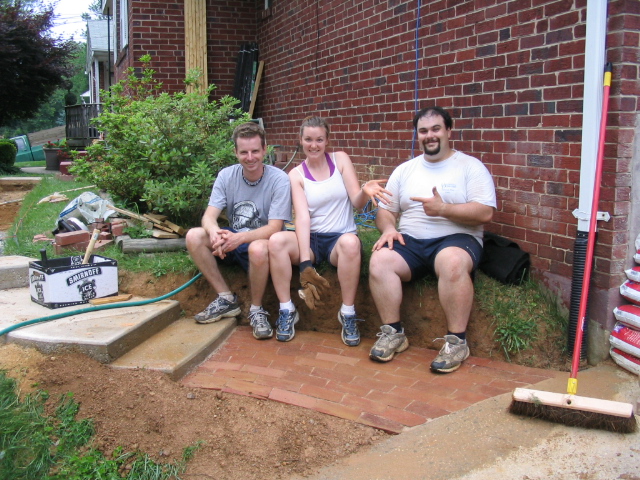 |
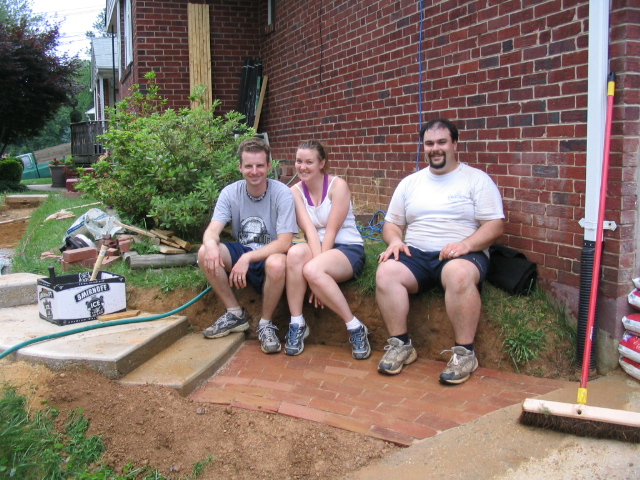
The crew. Thanks Kristin for taking the pic. |
 |
Another w/ the completed section of the walk. We backfilled the area next to the walk with dirt and Susie spread some grass seed on top. That finishes this section! |
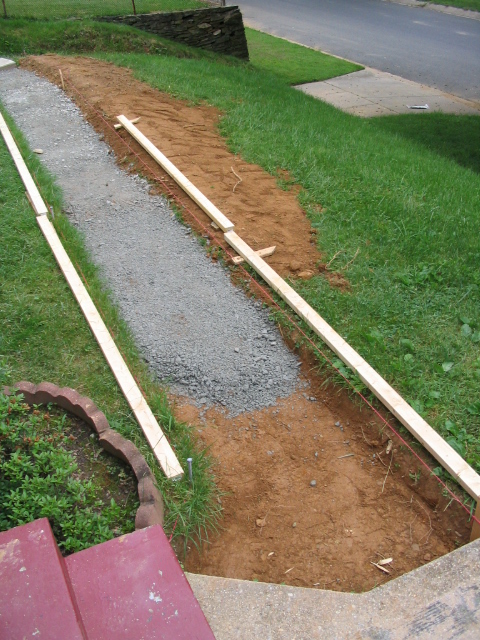 |
05/27/04 - Here's how it looked after Felix helped me to get more dirt & gravel in and to level it out. |
 |
Another view. |
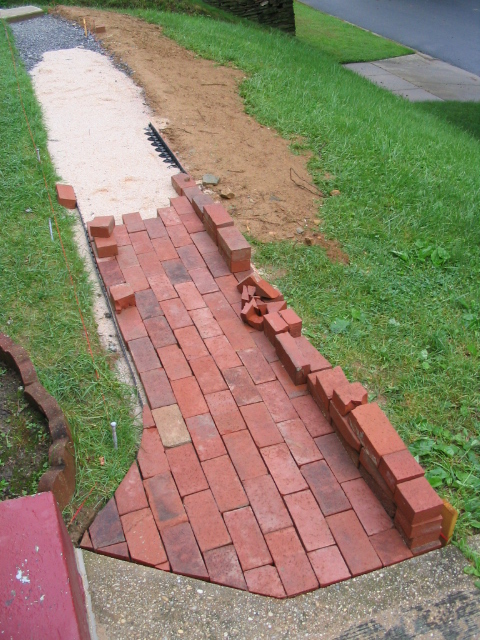 |
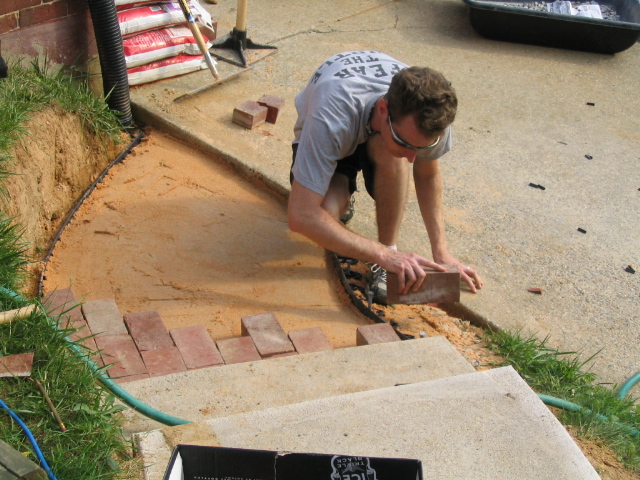
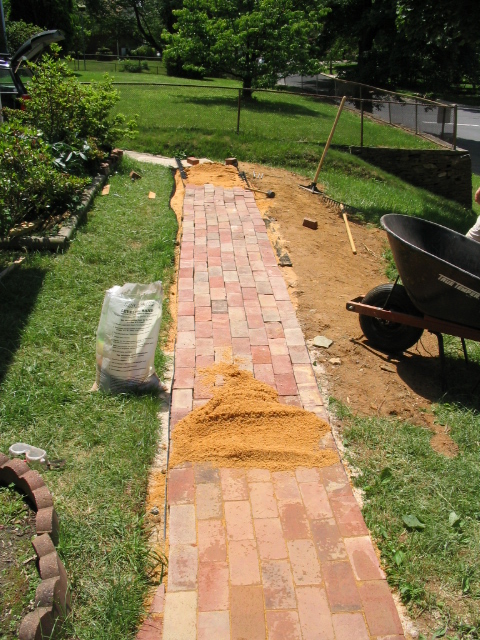
05/27/04 - Again, the Pomponi's came over and did a tremendous job helping out. We finished adding dirt, gravel & sand to the walkway and started to lay the brick. As you can see, we had to cut a handful to fit in the little angled area by the steps. |
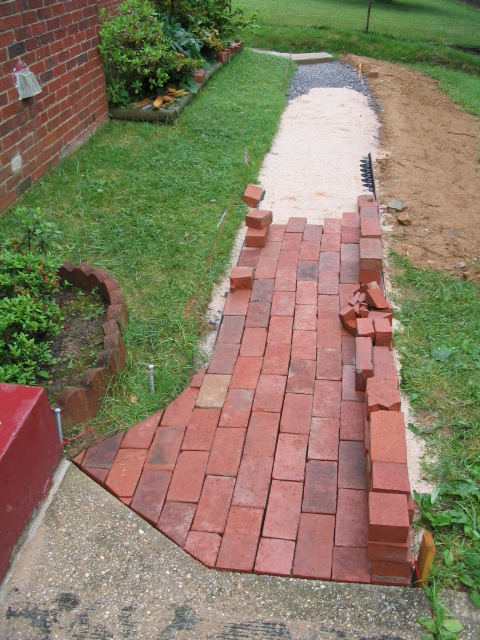 |
I found that buying the cheap masonry cutting blade for my circular saw was the best purchase of all. Using the brick chisel to cut the brick was not working. I broke so many bricks. Guess I really don't know the technique. The masonry blade made easy work of the most complex angled cuts I had to do. It's fast, dusty and cheap. I highly recommend it. |
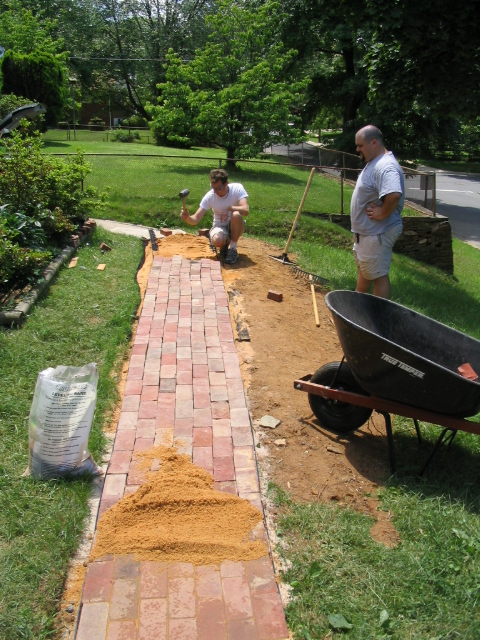 |
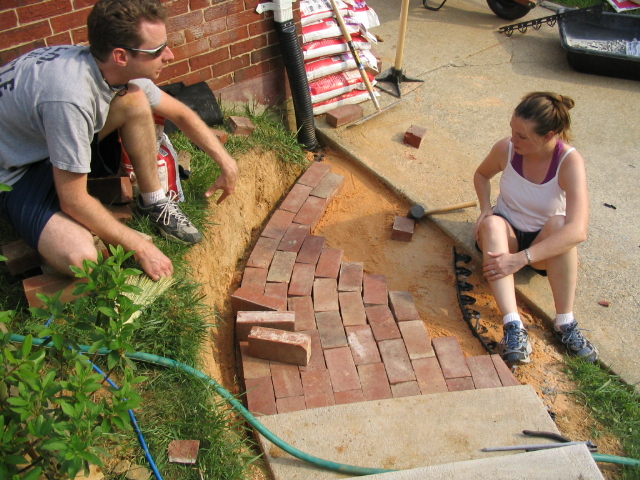
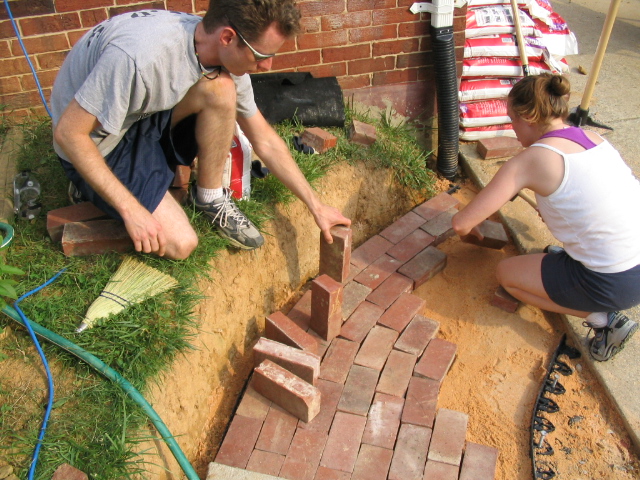
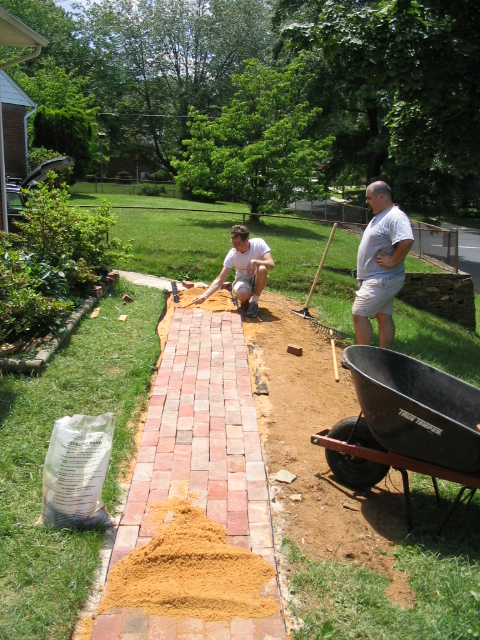
06/01/04 - Felix came over to continue work on the walk. We really moved quickly, laying in the sand and the bricks with efficiency. We managed to get all the way to the concrete steps, where the bricks will be laid with mortar another day. |
 |
Thanks Kristin for taking these pics. |
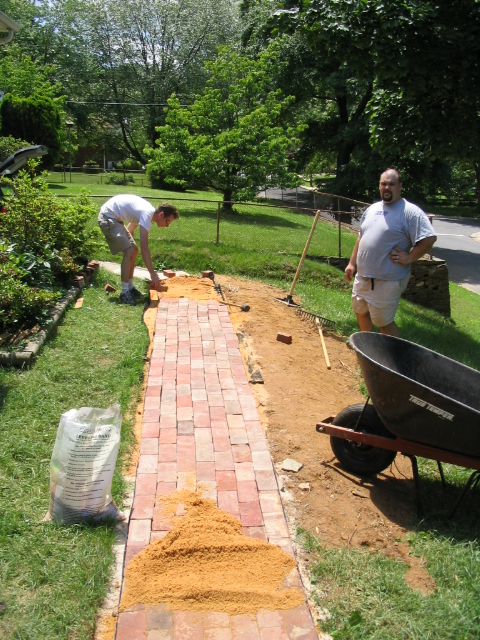 |
Me doing the heavy looking on. |
 |
Here it is. |
 |
Felix gettin' some water in the shade. |
 |
Another. |
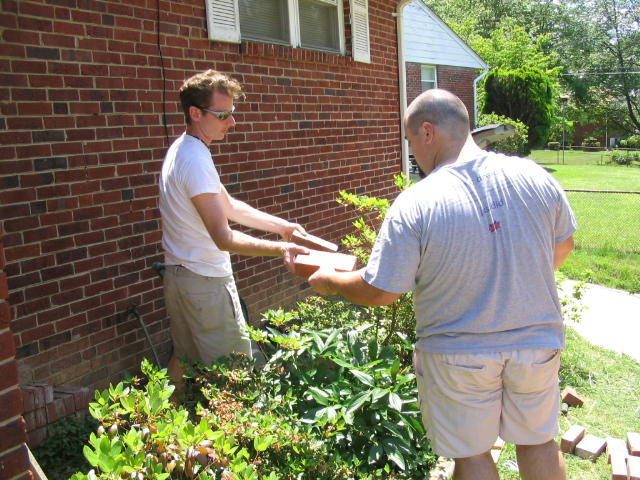 |
Passing bricks from the pile by the house to the walkway. It's so nice to finally get these things into place - they've been sitting there since last fall. BTW, thank you Mr. Pomponi (Felix's Dad) for the bricks! |
 |
At the end of the day. The rain started to fall, and we'd had enough for the day. Good timing. |
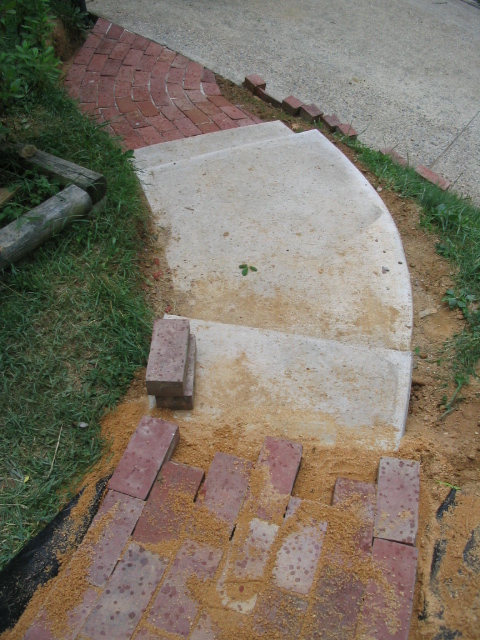 |
Here's the end by the steps. |
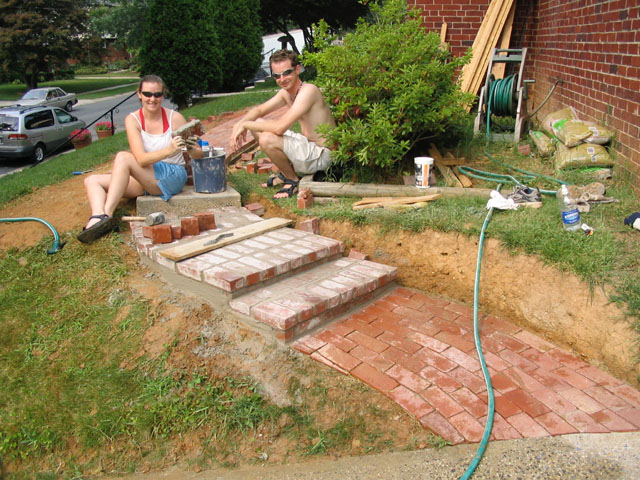 |
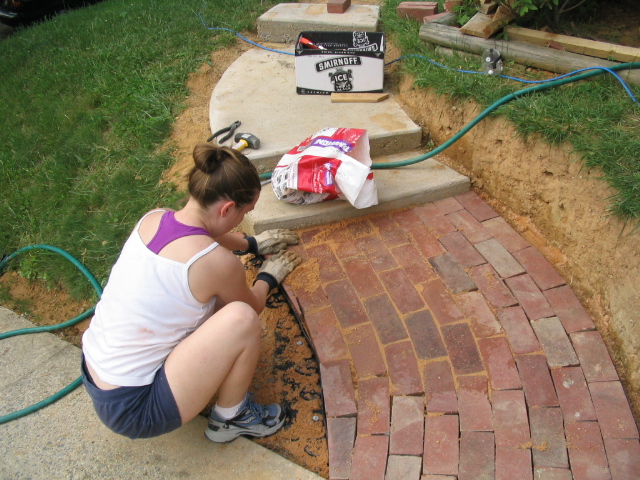
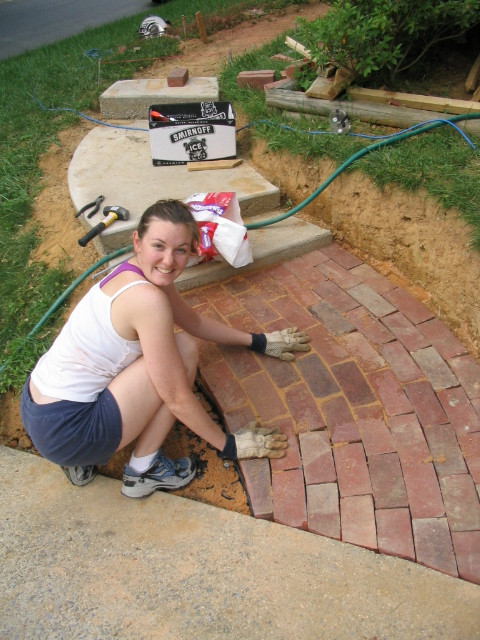
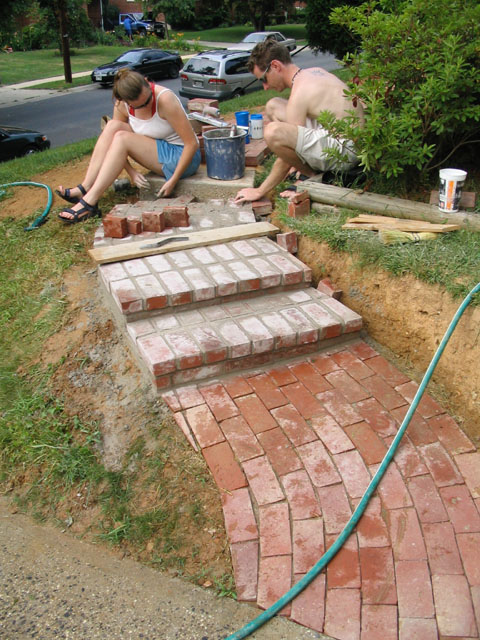
7/3/04: Felix & Susie come over again to help put down the mortar and bricks on the steps. |
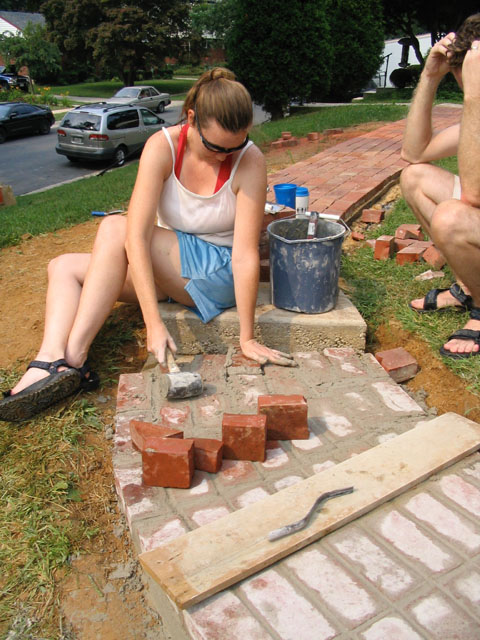 |
Susie is tapping some bricks down into the mortar. |
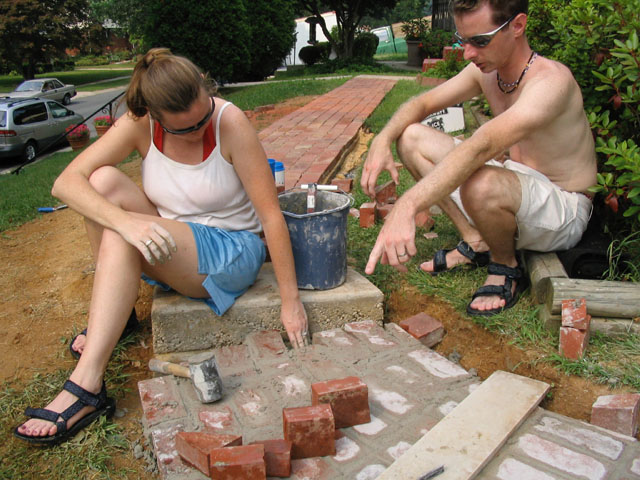 |
This was a fun step. Pardon the pun. |
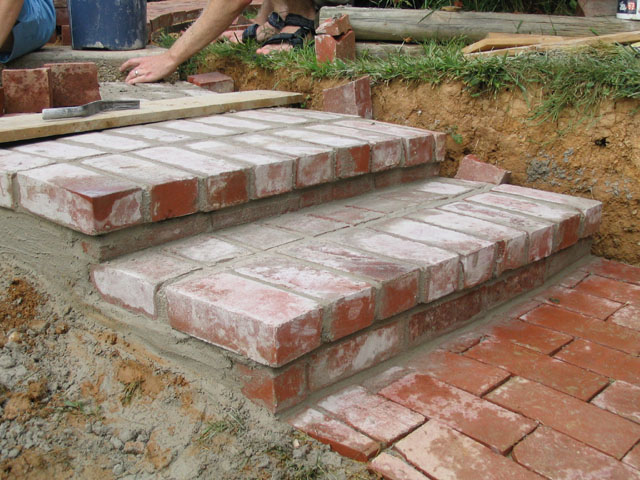 |
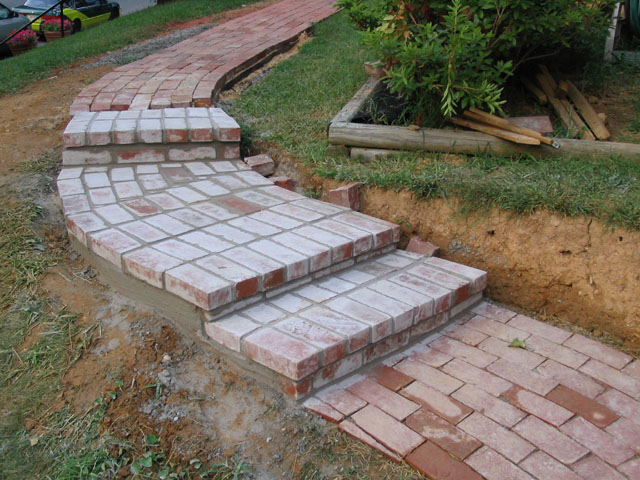
Here's the first two, already done. As you'll see, the only thing we forgot to do is wipe down the bricks w/ a wet sponge to remove the leftover mortar on top. Now they are permanently white on top. But, it's not so bad, as you'll see... |
 |
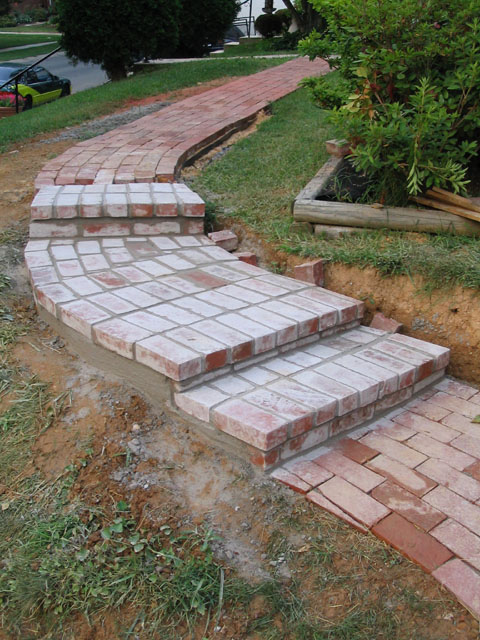
An overall shot. |
 |
Done! |
 |
A wide shot. |
 |
Another. |
 |
Closer up. |
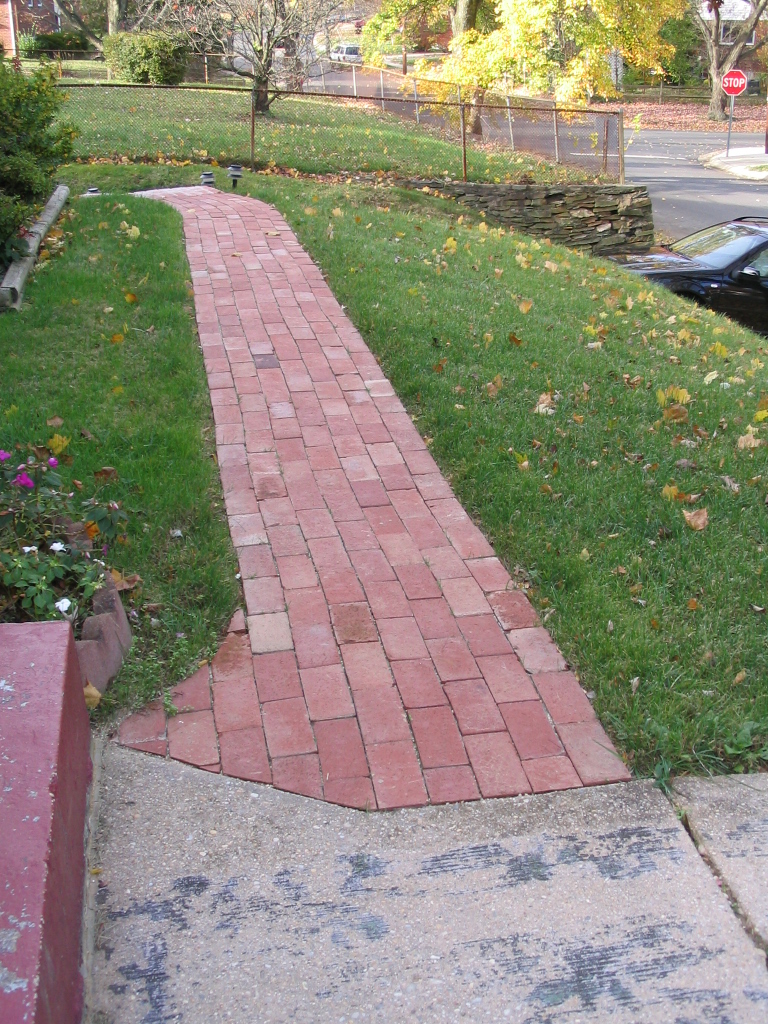 |
11/8/04: The aftermath. I cut the remaining bricks to finish the end of the upper walkway where it meets the steps. I then graded the lower slope on top of the hill to bring it up to level with the brick walkway. Put down some grass seed, watered it, and let nature go to work. It looks great! And we use it every day and love it every day. |
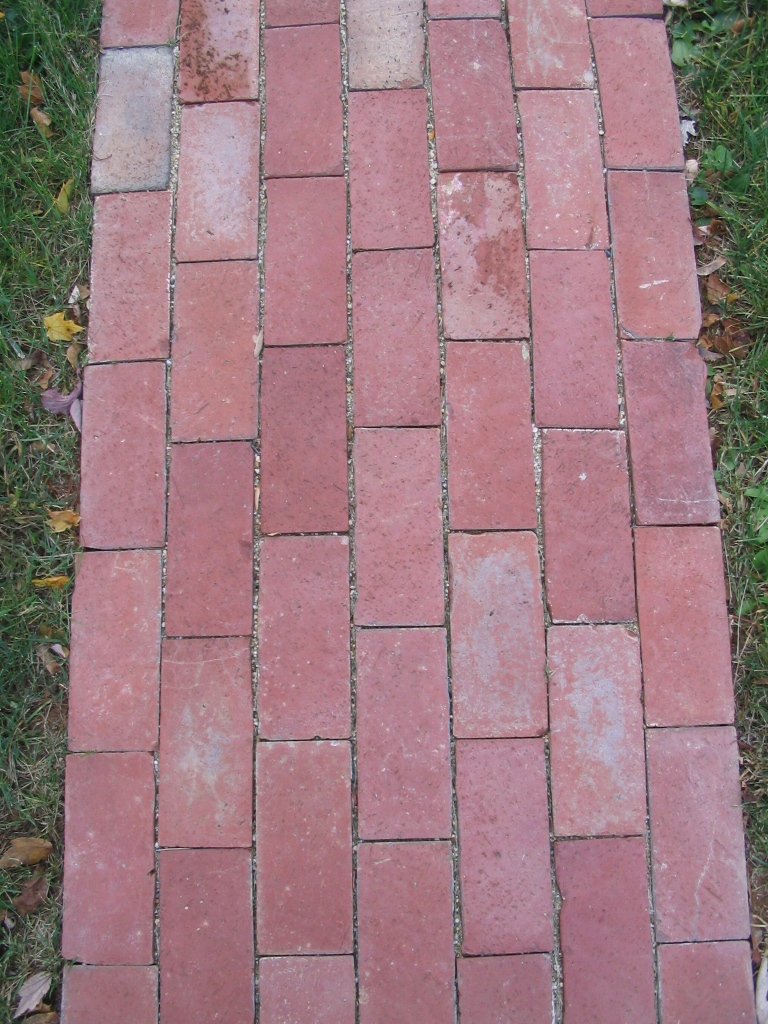 |
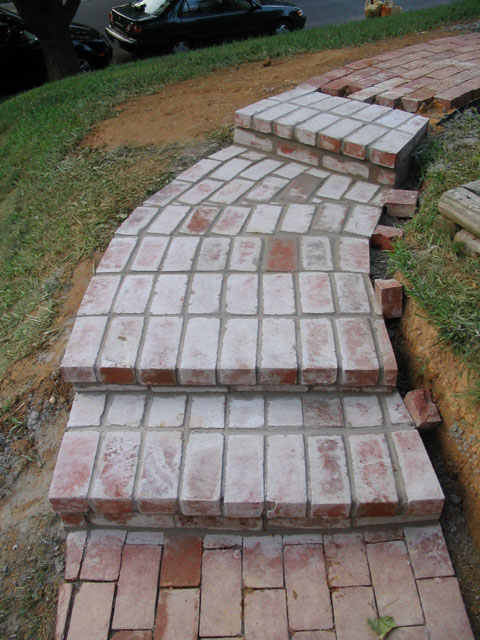
Closeup of the running pattern. |
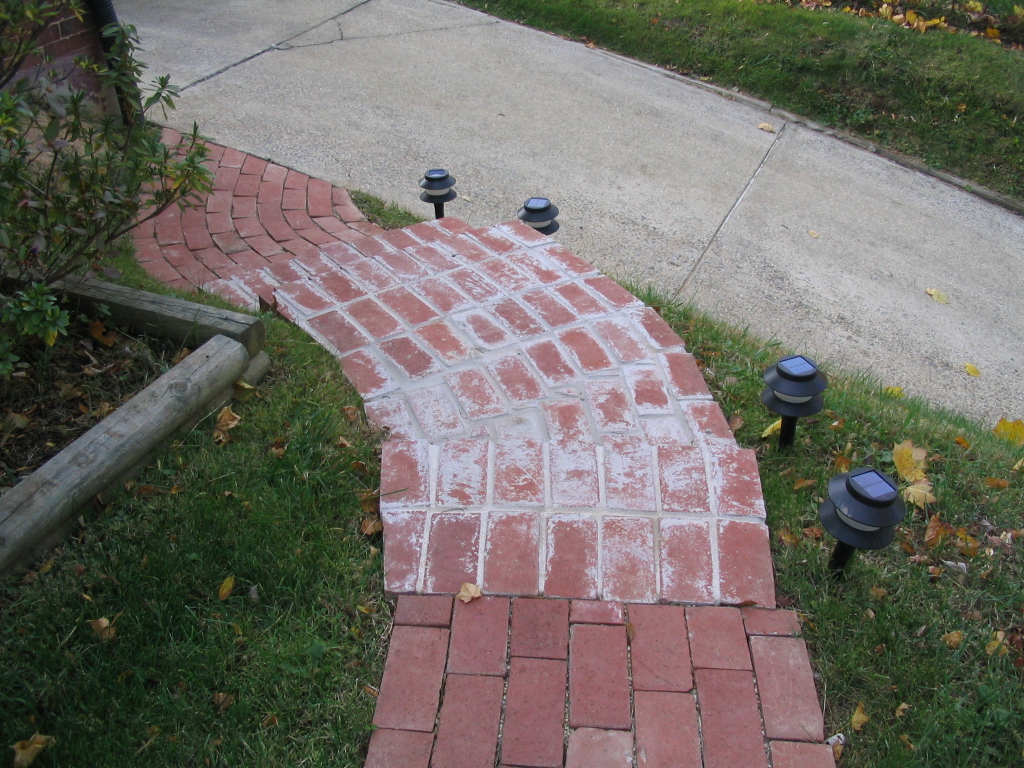 |
Steps. You can see the white residue on the bricks. Some has worn off, hopefully more will. |
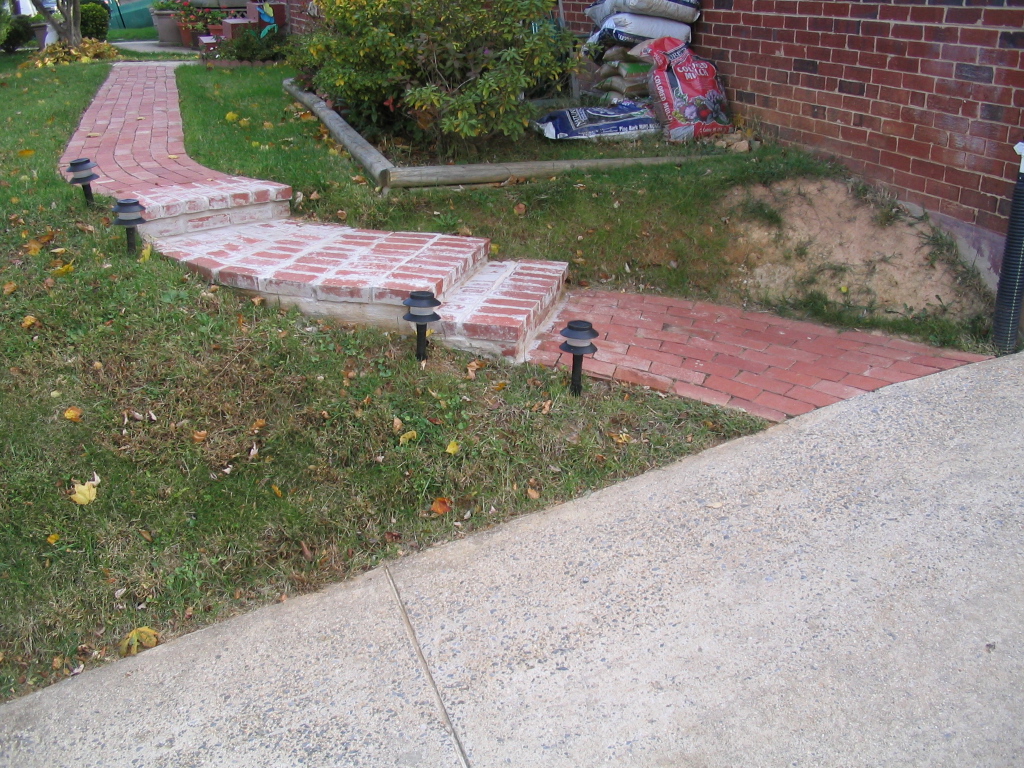 |
I installed some lights along the steps that we picked up at the Ocean State Job Lot in Dennisport, MA over the summer. The place is a sort of clearance/overstock joint with deals on everything. These were $9 per pair, I think. They have 2 NiCad rechargable batteries, a small solar panel, and a yellow LED inside. |
 |
And an overall shot of completed walk. |
Ben's Workshop - last updated 11/08/04