| Workshop >>
Model Railroading >> 1887 Depot
This kit is an old Suydam kit, now manufactured by Alpine Division Scale Models. It's a cardstock, wood and metal kit. I started this kit many years ago and never finished it. I also was not pleased with the overall appearance (gray with green trim) so I modified it to represent something more "Pennsy", as I was planning on modeling the PRR at the time. I've added a few extra things, like replacing the sandpaper roofing material with laser cut shingles from B.T.S.. The shingles look great and were easy to apply; just peel and stick. So, here are some shots of my progress. |
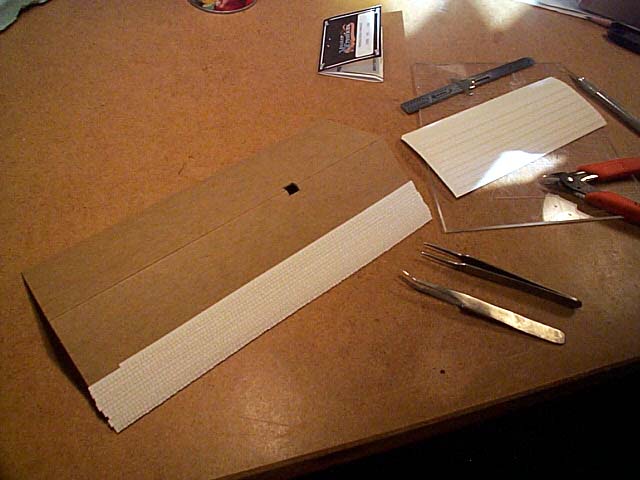 |
Here I'm installing the laser cut paper shingles. Be careful to keep each course level. Also, try to stagger the shingles as much as possible- I think you'll find this happens naturally as you lay them down. |
 |
Closeup on the shingles. A lil' blurry. |
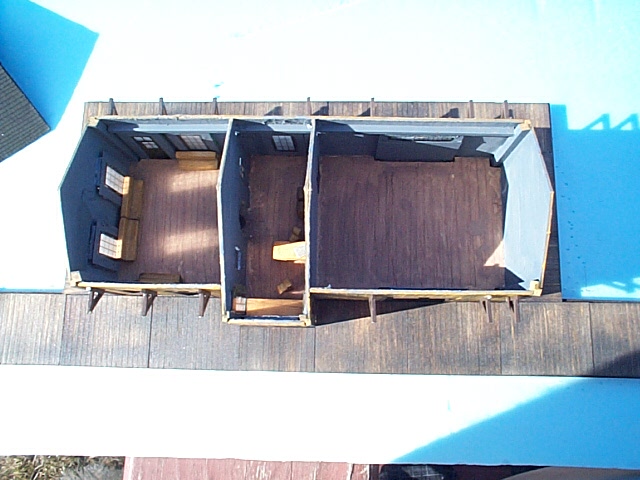
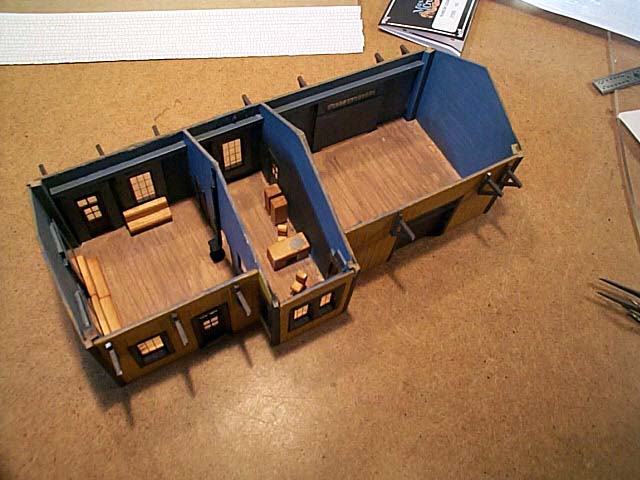 |
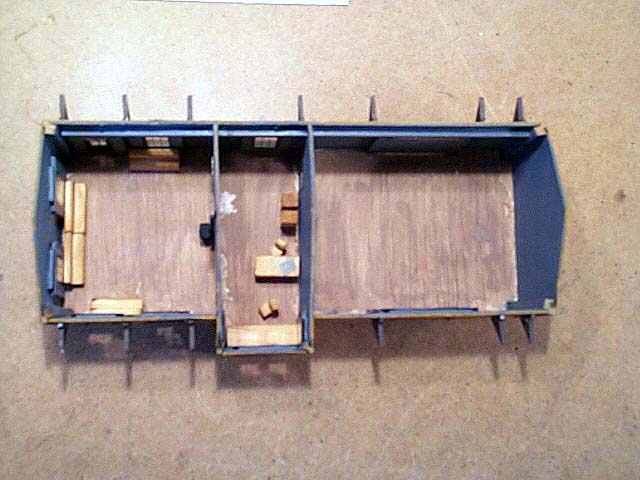
Interior of depot decorated w/ parts included in kit. |
 |
front |
 |
view from above, again |
 |
back. The walls are painted Polly Scale PRR Buff Acrylic, and the wood trim is painted with Floquil Roof Brown. The interior is some old Testors Gray enamel I had around. |
 |
back, with roof on |
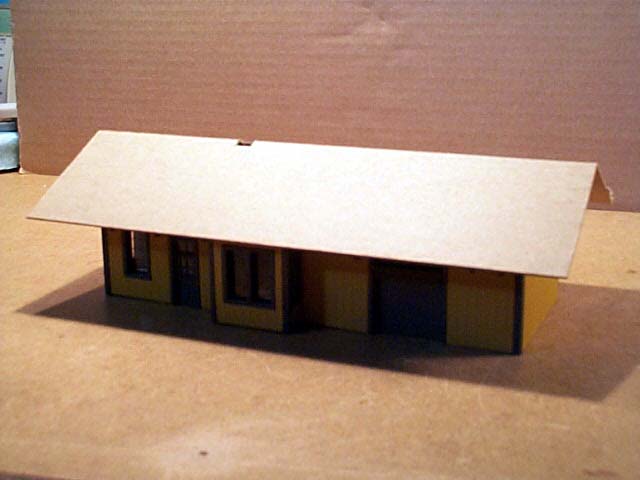 |
front, with roof on |
 |
The kit includes a large, wrap around wood platform. Here it's being assembled on the plan. |
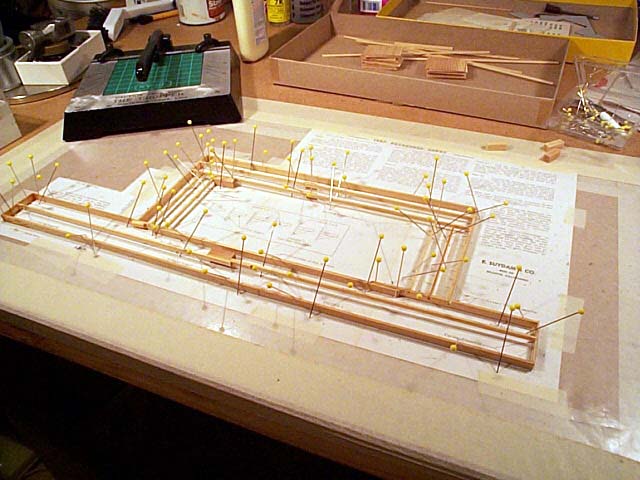 |
Another view of the platform assembly |
 |
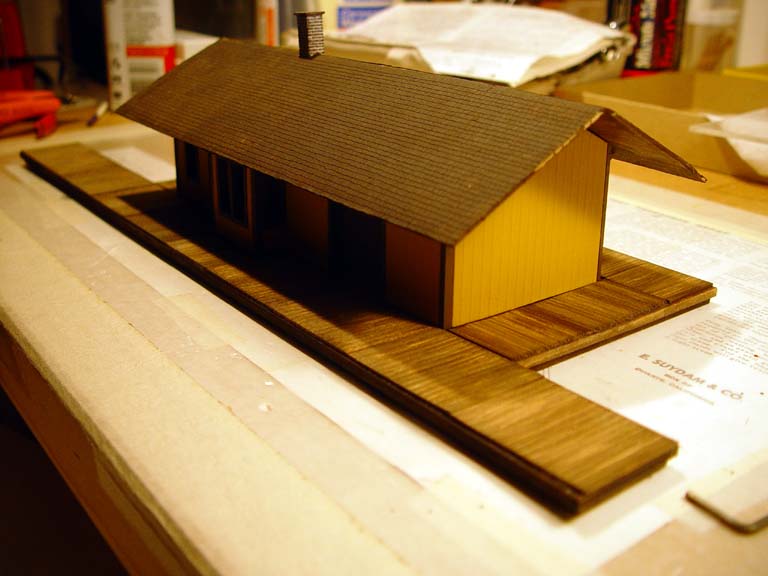
Fast forward, here's the Depot nearly complete. I still have some work to do on the roof. The platform and roof need to get some more final paint and weathering. The chimney is also just loosely placed inside its slot. |
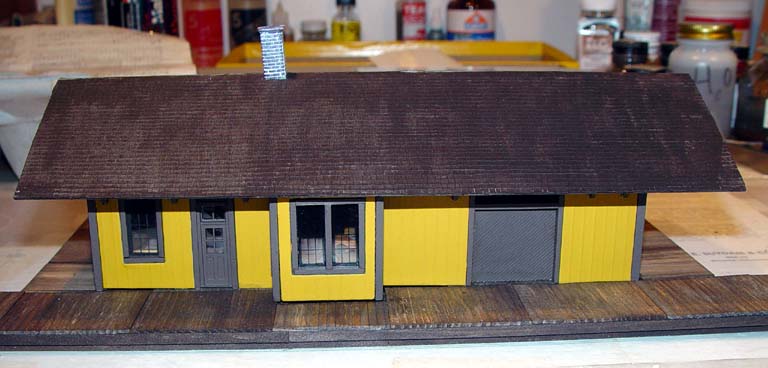 |
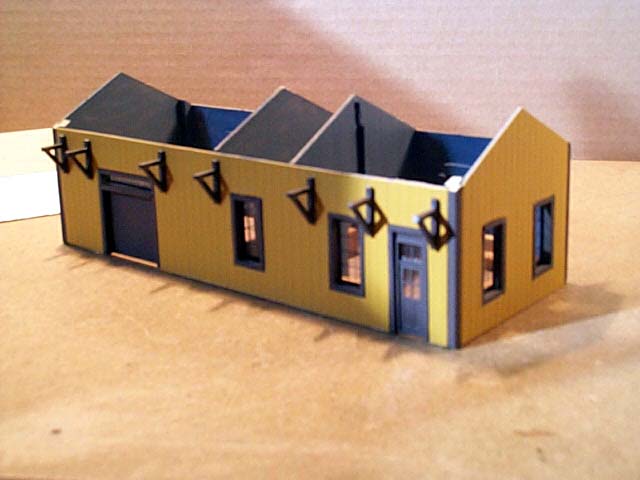
Front view. Here you get a good shot of one of the doors I replaced. The kit came with grey cardboard printed doors. Since I changed the color of the bulding and wanted more detail, these wouldn't do. I picked up some Grandt Line doors and modified them to fit. They seem a bit small, but then again, this old kit's dimentions are so out of scale it doesn't really matter. |
 |
front view |
 |
Perspective. For the platform and roof stain I used a mix of browns, yellows and black acrylic artists colors from tubes. Water it all down and apply very liberally. The look of weathered creosote is what I'm going for. |
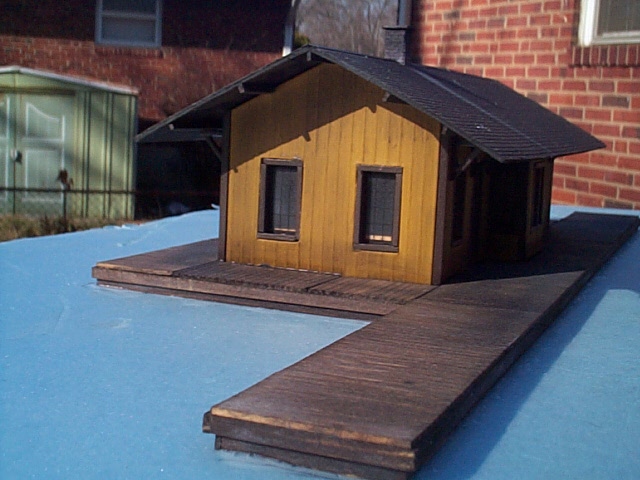 |
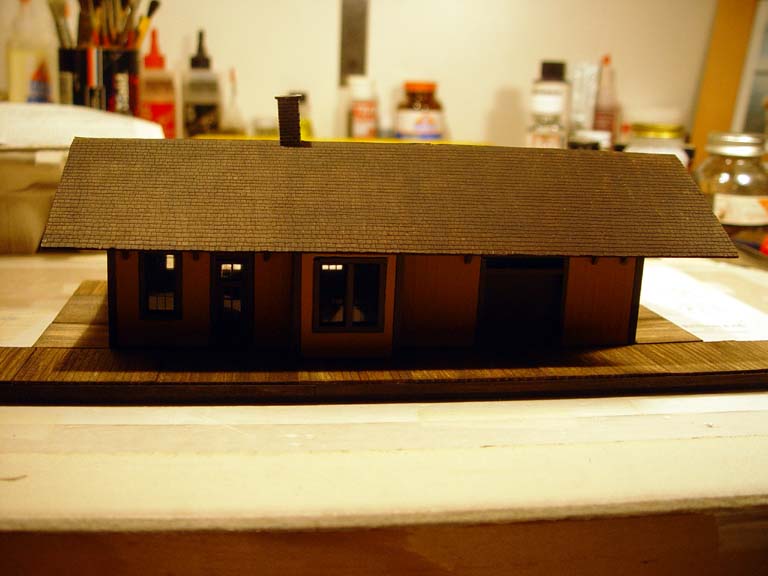
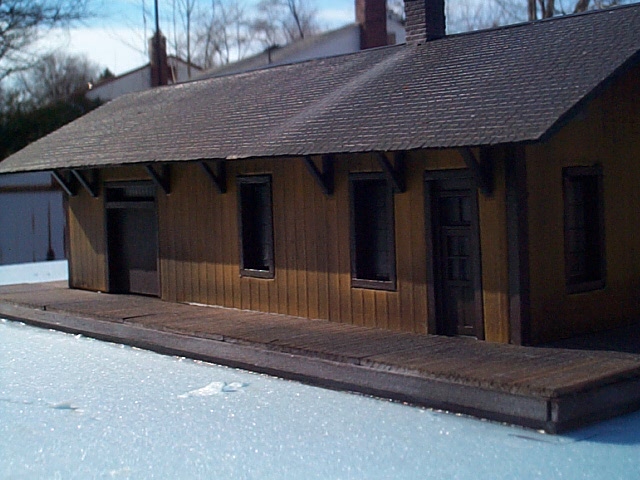
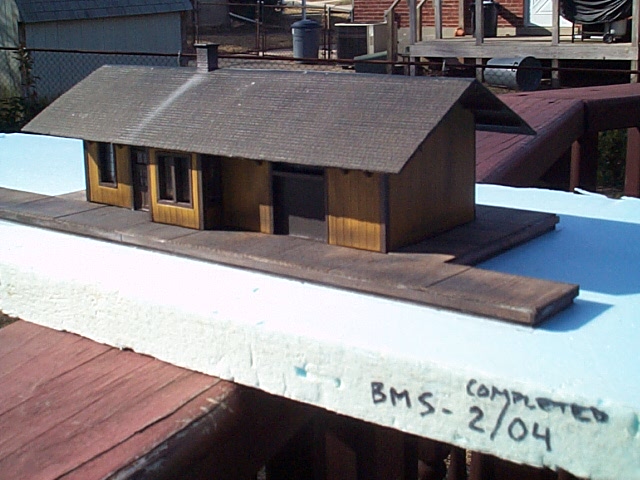
OK, fast forward once more to the completed model! I took it outside to take a few photos. From the previous photos, I've painted the roof Floquil Rail Brown and weathered the model with chalks. I sprayed it with Floquil Clear finish and glued it to the blue foam base. |
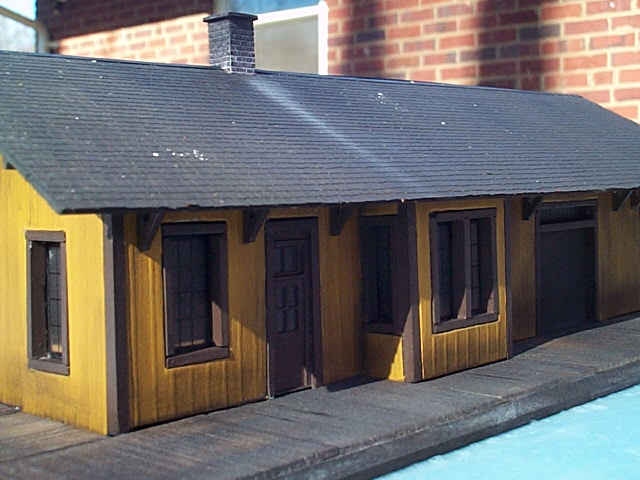 |
A closeup of the bay window front. |
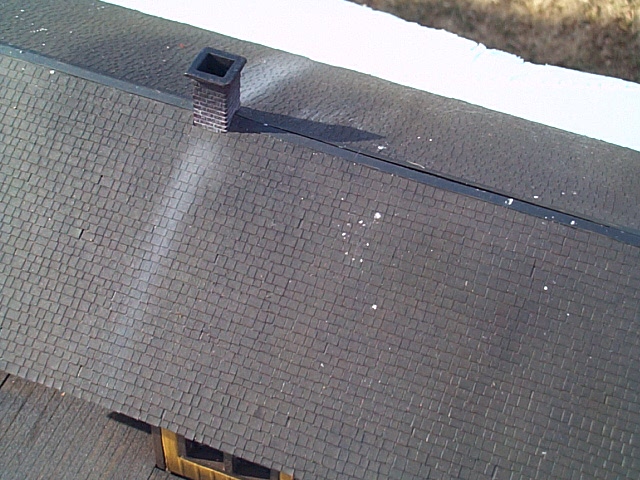 |
Closeup on the roof. I used thin Evergreen styrene strips for the roof cap. The chimney came out of my scrap box. |
 |
Back side of the station. |
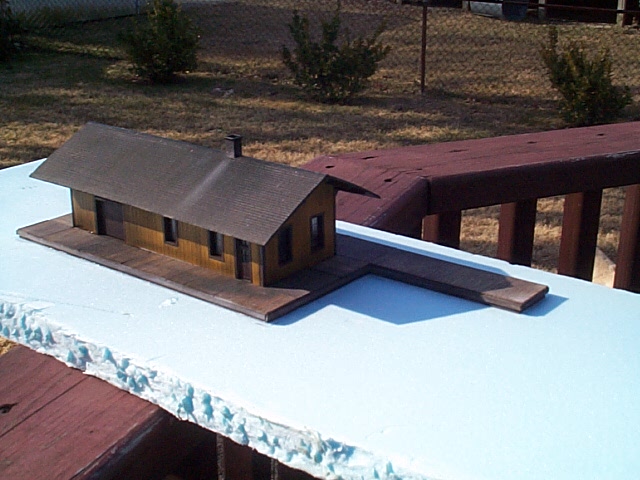 |
From above. |
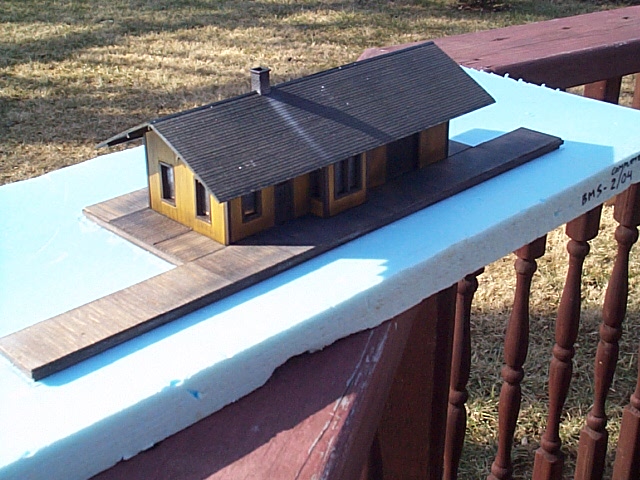 |
Again. |
 |
Track side. |
 |
A little closer. |
 |
With the roof removed. |
 |
The interior. |
 |
Frontal view. The only things left to do are to add details like signs, boxes, barrels, papers, etc. I won't be adding them any time soon because this model won't be used on my current layout. |
Ben's Workshop - last updated 03/01/2004 - email cpl_clegg@yahoo.com