| Workshop >>
Soarstar ARF "park flyer"
This was given to me as a gift. The kit is pretty easy and straightforward to assemble. I would like to see some things clarified in the instructions, but overall they are fine. One thing lacking is a list of materials needed to complete the kit on the box exterior. There were no specs for the radio, really, except a vague "3+ channel radio" needed. Also, the slots in the fuselage are small, designed for micro servos; there is no mention of this on the box. |
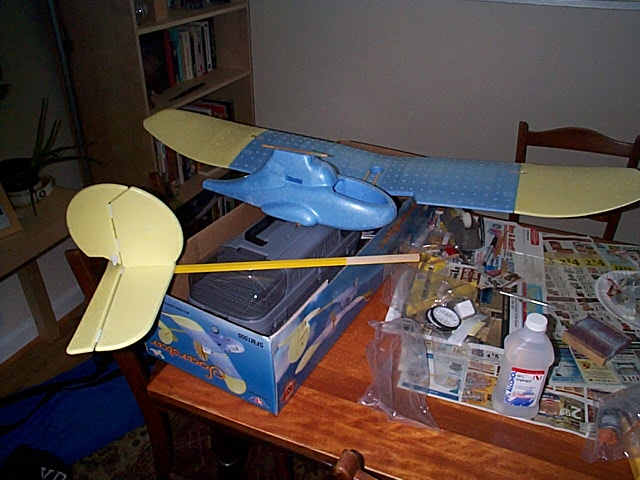 |
Here are some of the main subassemblies in various states of completion. I used 5 min (15 min) epoxy to affix everything. |
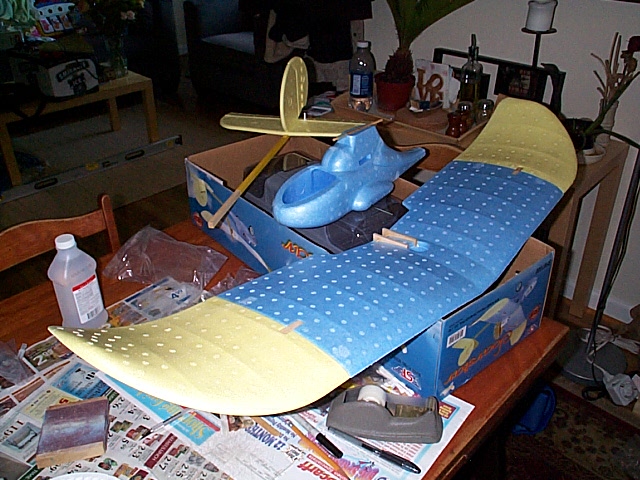 |
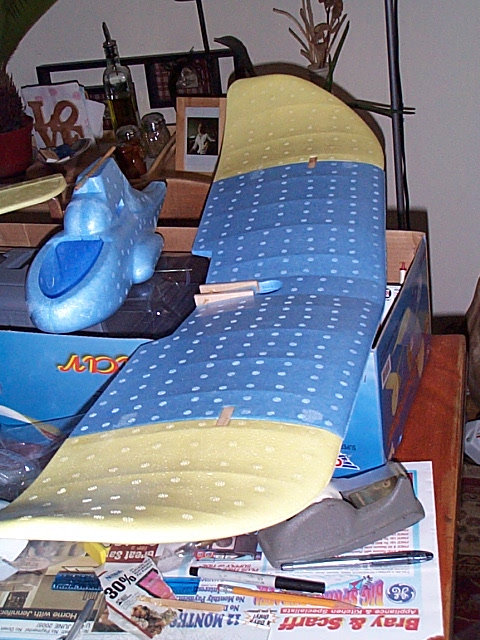
The wing. |
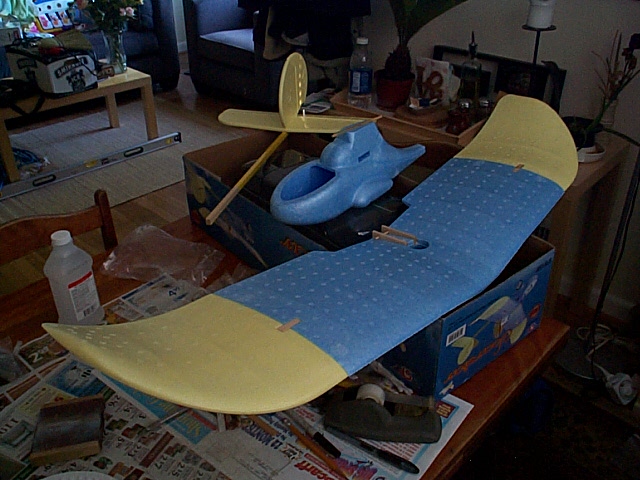 |
The wing, no flash. The motor mount is located on the rear center of the wing. |
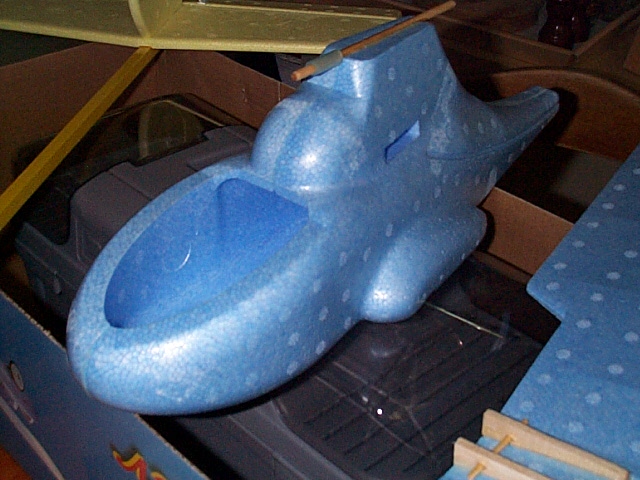 |
Main fuselage. The dowel on top is to mount the wing (with rubber bands) to the fuselage. |
 |
Wing. |
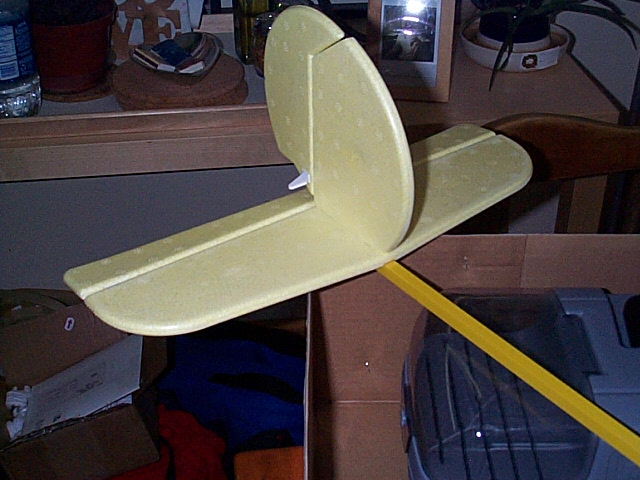 |
Tail. All of this was completed in one short evening. More to come soon. |
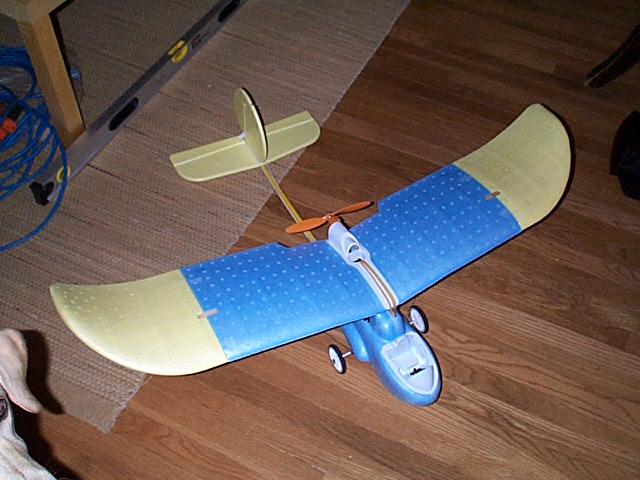 |
The completed model, 04/29/04. |
 |
Another shot. |
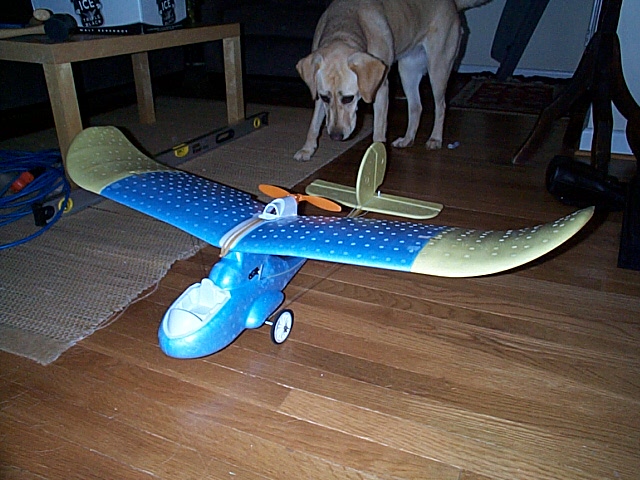 |
Maggie is curious. Can she play with it? |
 |
Nose view. |
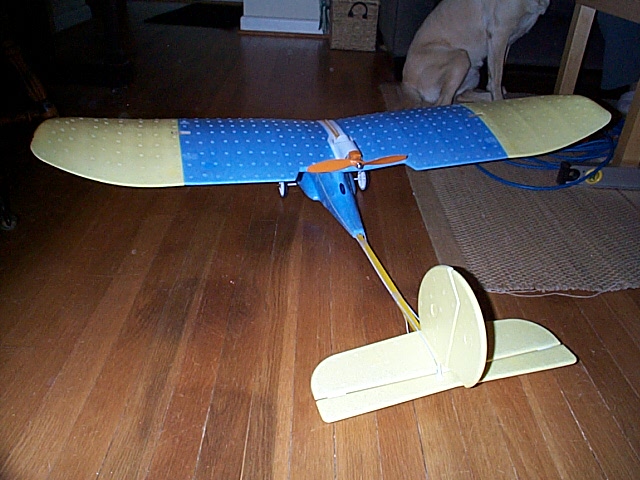 |
Rear view. |
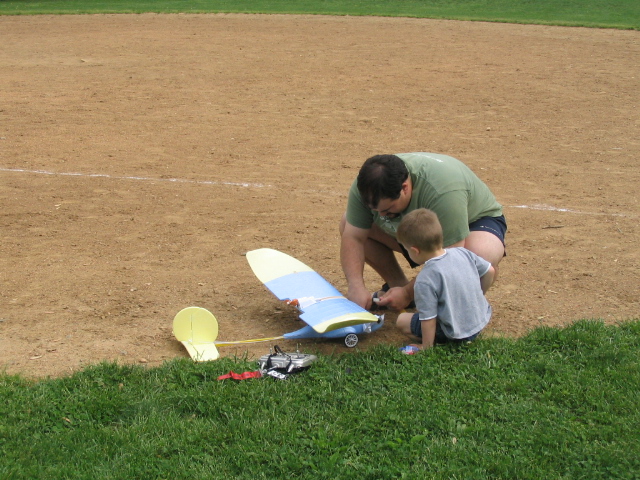 |
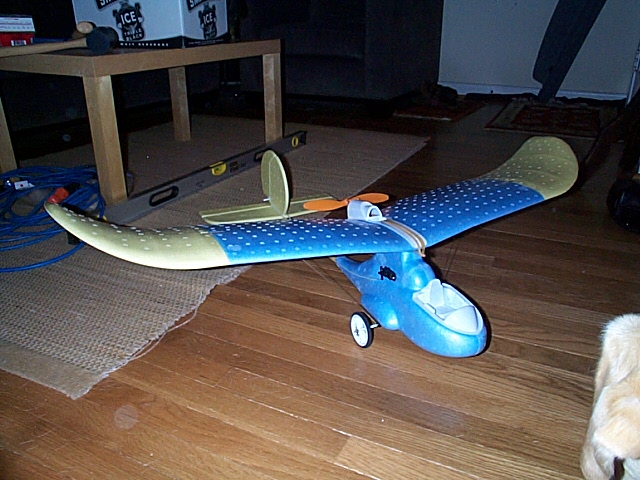
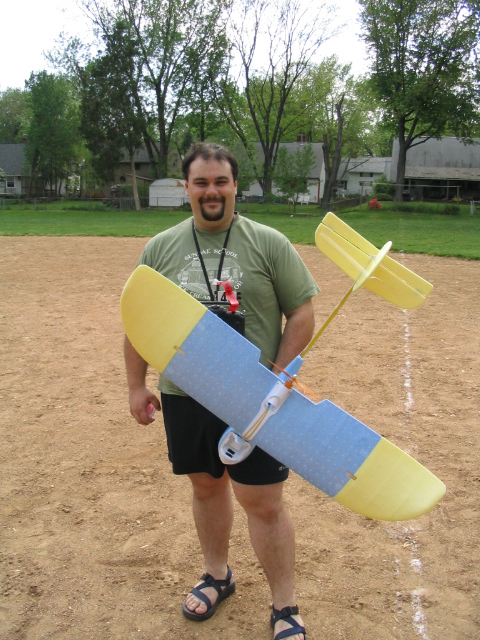
Here we are on 05/01/04 setting up the plane. |
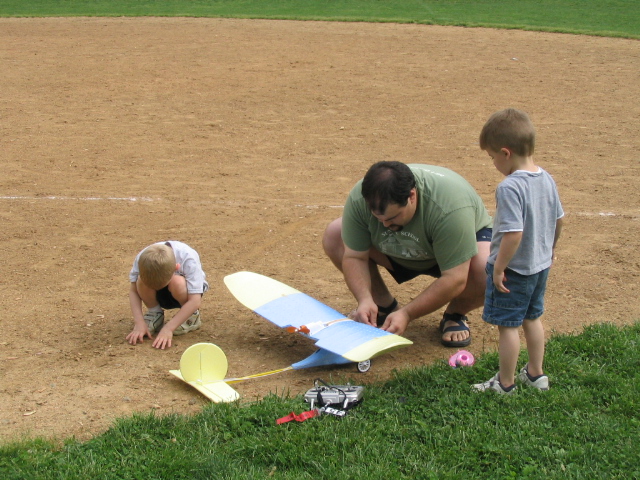 |
Kristin's Sister & Family came to visit for the weekend and we took it out for a maiden flight. It didn't last long. The wind was so strong and the plane went up and crashed down quickly. My fault - I shouldn't have flown it! :) |
 |
Everyone looks on. |
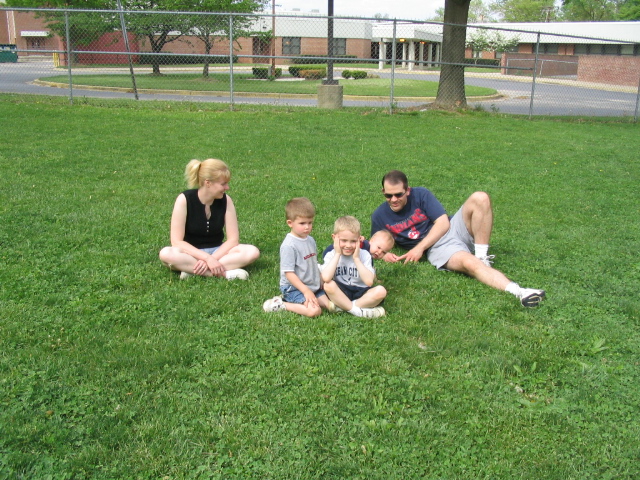 |
Family. |
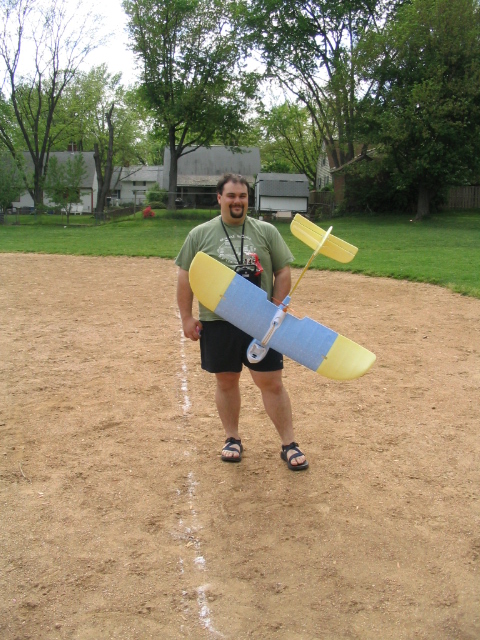 |
Here I am after the wreck. The nose was broken, fuselage cracked, and tail broken off. |
 |
Over the next weekend I was able to repair the damage with some epoxy. Because of the simple construction and materials this plane is easy to repair. I'll have to wait for a still weather day to fly again. Silly me. |
Ben's Workshop - last updated 05/26/04 - email cpl_clegg@yahoo.com