42
Draft Designs Clear Sidemarker Installation
Overall,
a truly simple installation. Each one will take you a couple minutes,
and look really nice when installed. A nice easy mod thanks to 42
Draft Designs. |
| |
| |
|
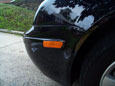
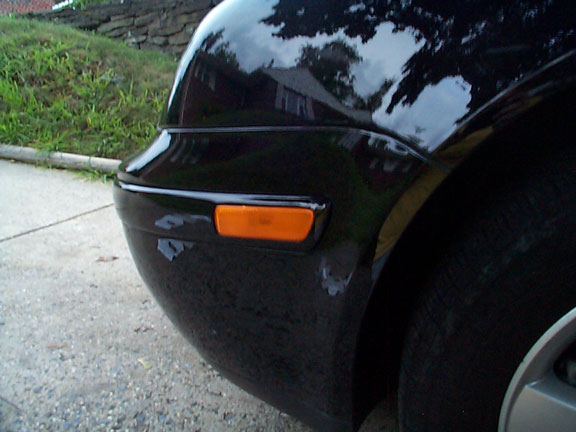
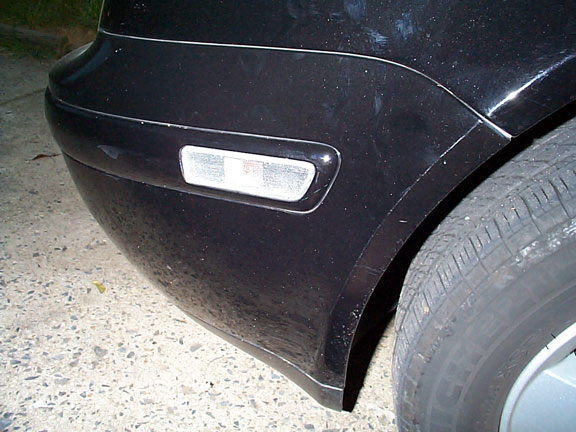
Original
amber side markers. |
| View |
|
|
| |
| |
|
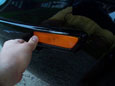
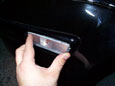
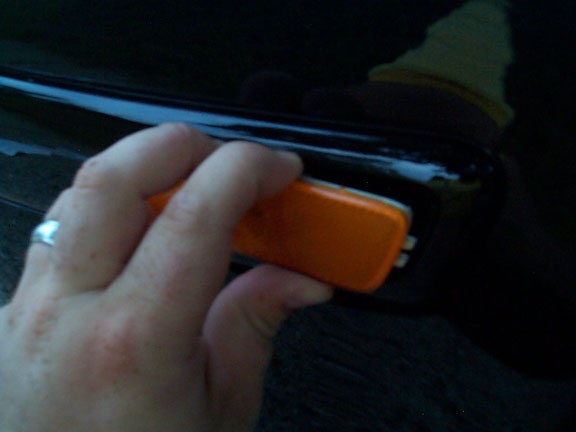
Depress
front end of side marker. Slide it to the front. (I needed to
use a short screwdriver to ease it forward, as it was pretty
tight) |
| View |
|
|
| |
| |

|
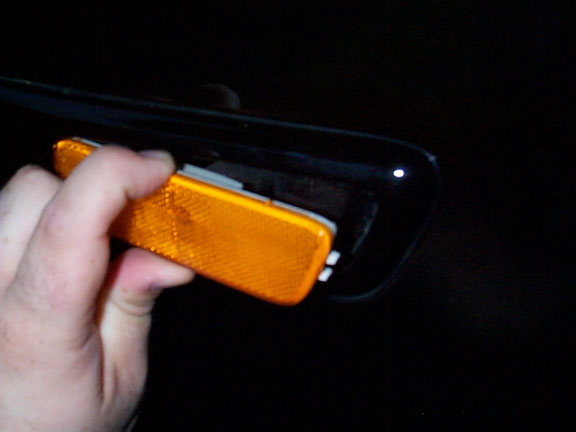
The
rear end will pop out. |
| View |
|
|
| |
| |
|
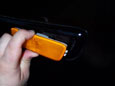
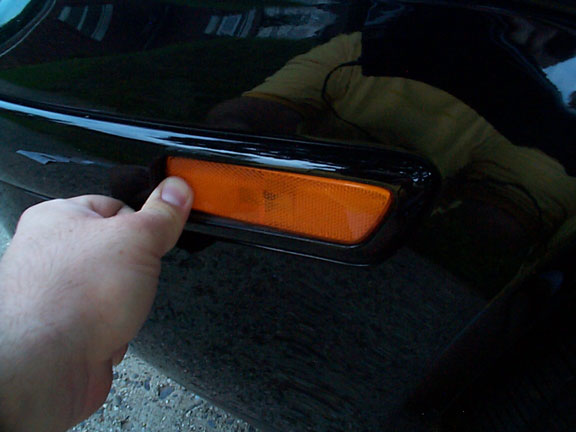
Carefully
pull the marker out. |
| View |
|
|
| |
| |

|
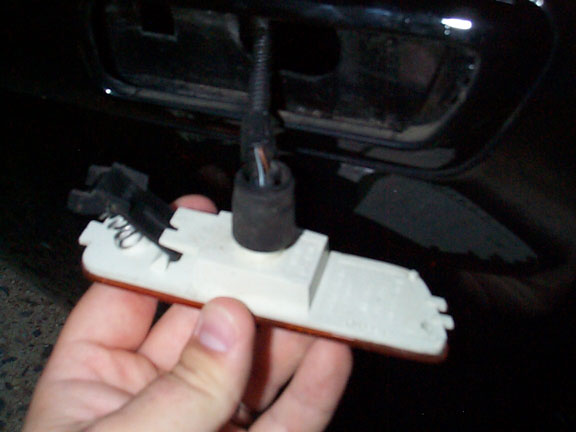
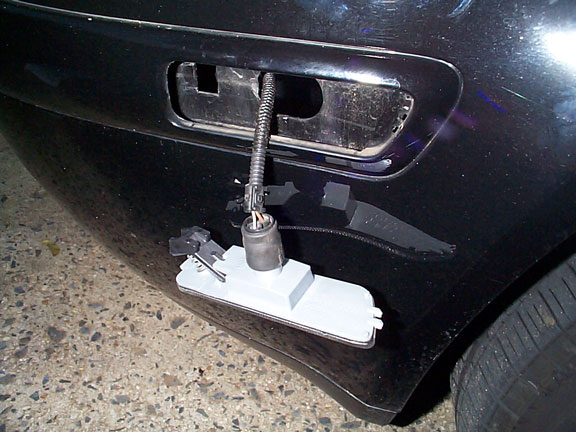
Here's
what the back side looks like. |
| View |
|
|
| |
| |
|
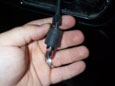
Pull
the rubber grommet/socket straight off the sidemarker housing.
Do not twist the harness! |
| View |
|
|
| |
| |
|
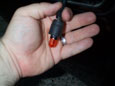
To
remove bulb, pull straight out. Do not twist the bulb! To install
new bulb, simply insert straight into socket. This may take
some finesse, as the socket can be a little tight. |
| View |
|
|
| |
| |

|
Rubber
grommet/socket and new 42DD sidemarker. |
| View |
|
|
| |
| |

|
Insert
rubber grommet/socket into new 42DD sidemarker housing by sliding
it straight on. Again, do not twist! |
| View |
|
|
| |
| |
|
Insert
the sidemarker in the reverse fashion as it came out: slide
front side in and slide forward, then push rear side (with tabs)
in and slide it to the rear to lock. Once again, I carefully
used a short screwdriver to ease it into position. |
| View |
|
|
| |
| |

|
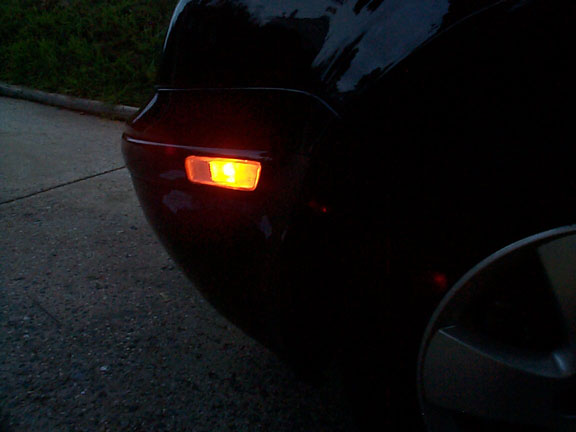
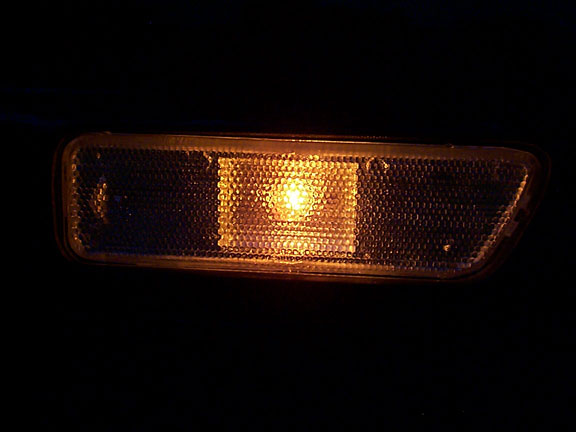
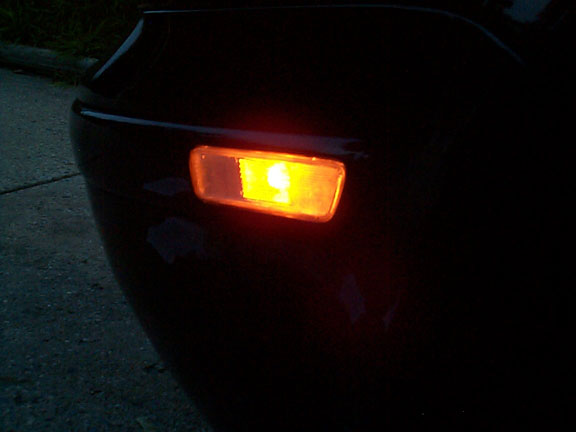
Lights
on. (comes on when you turn on parking lights/headlights) |
| View |
|
|
all
photos and text © Ben Sullivan |
|


