| The Georgetown Branch: Gallery: The wood paneling starts to go up! 01/04/2004- My Father-in-law Bruce came over to lend a hand putting up the wood paneling. Because the walls in my basement are so screwy it took us a lot longer to get everything to fit, as you'll see in the pics. It was such a good feeling to get this paneling up! A few weeks ago Bruce & I also checked out all the electrical circuits in the room with a voltmeter - they all work just fine. Thanks Bruce!! Enjoy! |
|
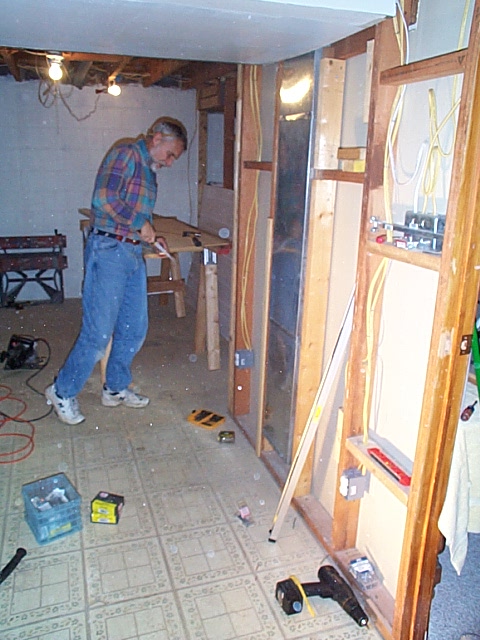 |
01_04_04-basement01.jpg Here's Bruce cutting some small strips of plywood we piggybacked onto the 2x4 to the left of the duct in the wall. The duct was poorly installed and protruded past the 2x4 on the left, and on the right there's a 2x3 or something. Whatever it is it's too small to go there, and the paneling would not have cleared the duct had we not sistered a 2x4 (the lighter colored one on the right side of the duct) to the 2x3. Ugh - what a pain. The walls in here aren't of the best quality! |
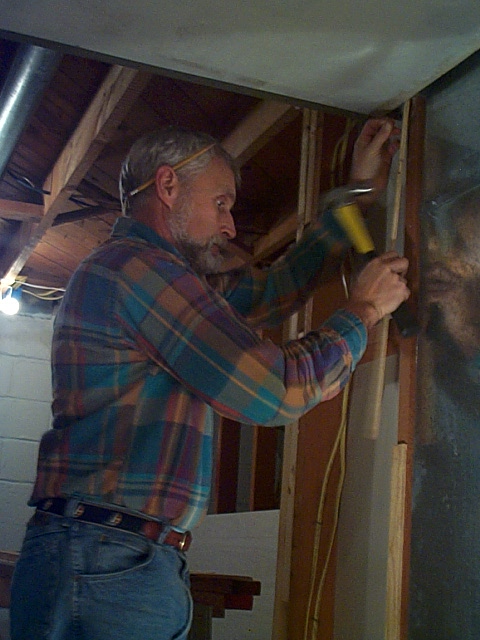 |
01_04_04-basement02.jpg And here's Bruce installing the plywood strip to the 2x4 with some small nails. |
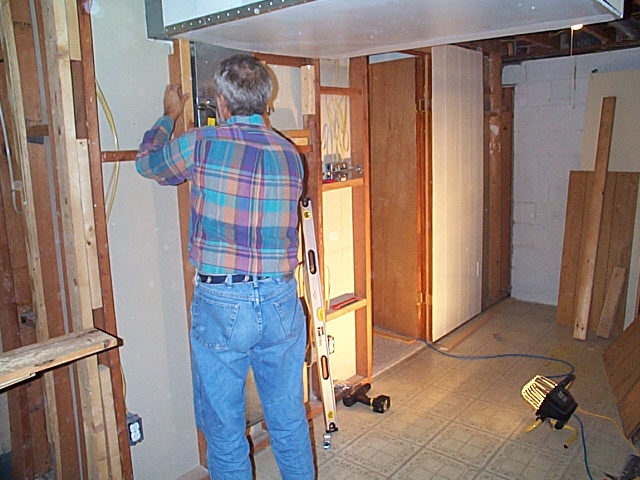 |
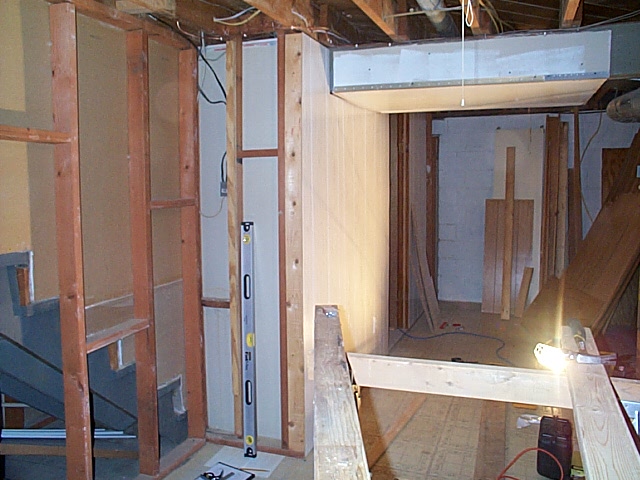
01_04_04-basement03.jpg From another angle. Note the paneling we already put up to the right of the doorway. That was the first piece we did. |
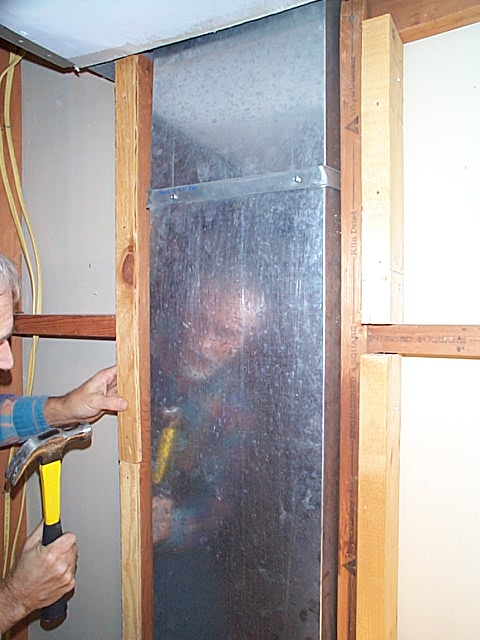 |
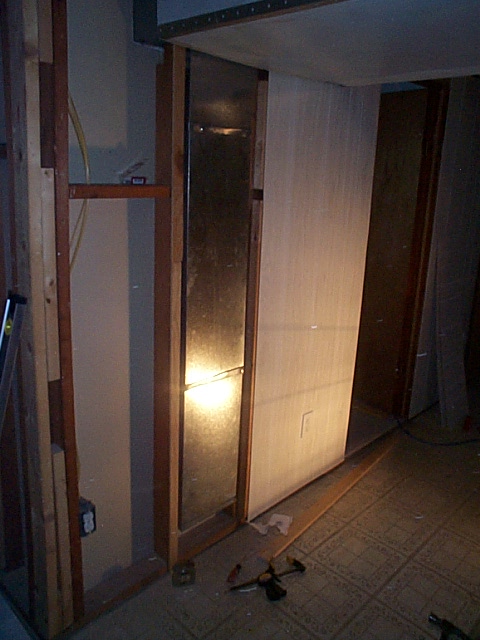
01_04_04-basement04.jpg And here's a closeup of the duct. Note the plywood strips on the left and the 2x4('s) sistered to the 2x3 on the right side. The brackets holding the duct in are really poorly designed, as they protrude out about 1/4" to 3/8" from the wall. UGH again! |
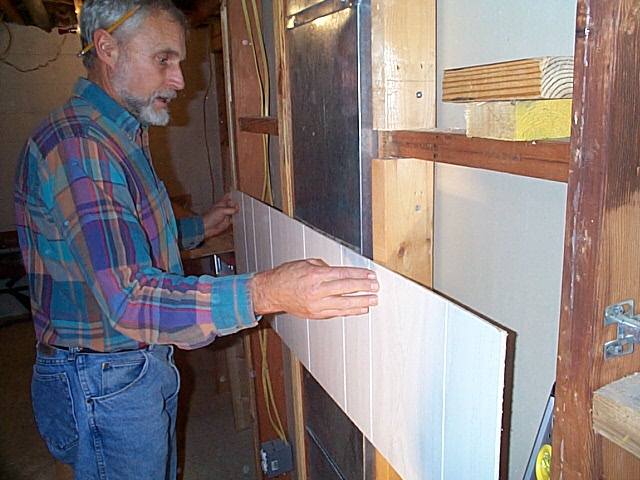 |
01_04_04-basement01.jpg Here's Bruce test-fitting a piece of paneling over our modifications. "Looks good!" |
 |
01_04_04-basement06.jpg Here's the next piece of paneling to go up. Our general process was
|
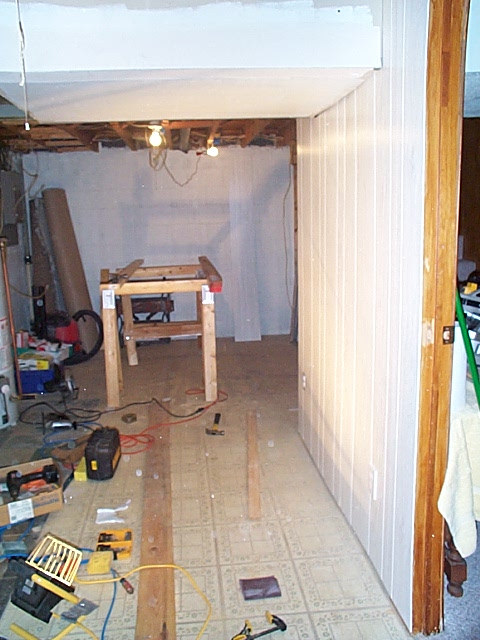 |
01_04_04-basement07.jpg Here is the wall after the final piece went up that night. Looks nice, eh? |
 |
01_04_04-basement08.jpg From the other direction. You can see the walls we still have to outfit to the left. |
home | news | history | layout | equipment | gallery | links | contact |
|
email: cpl_clegg@yahoo.com |
|